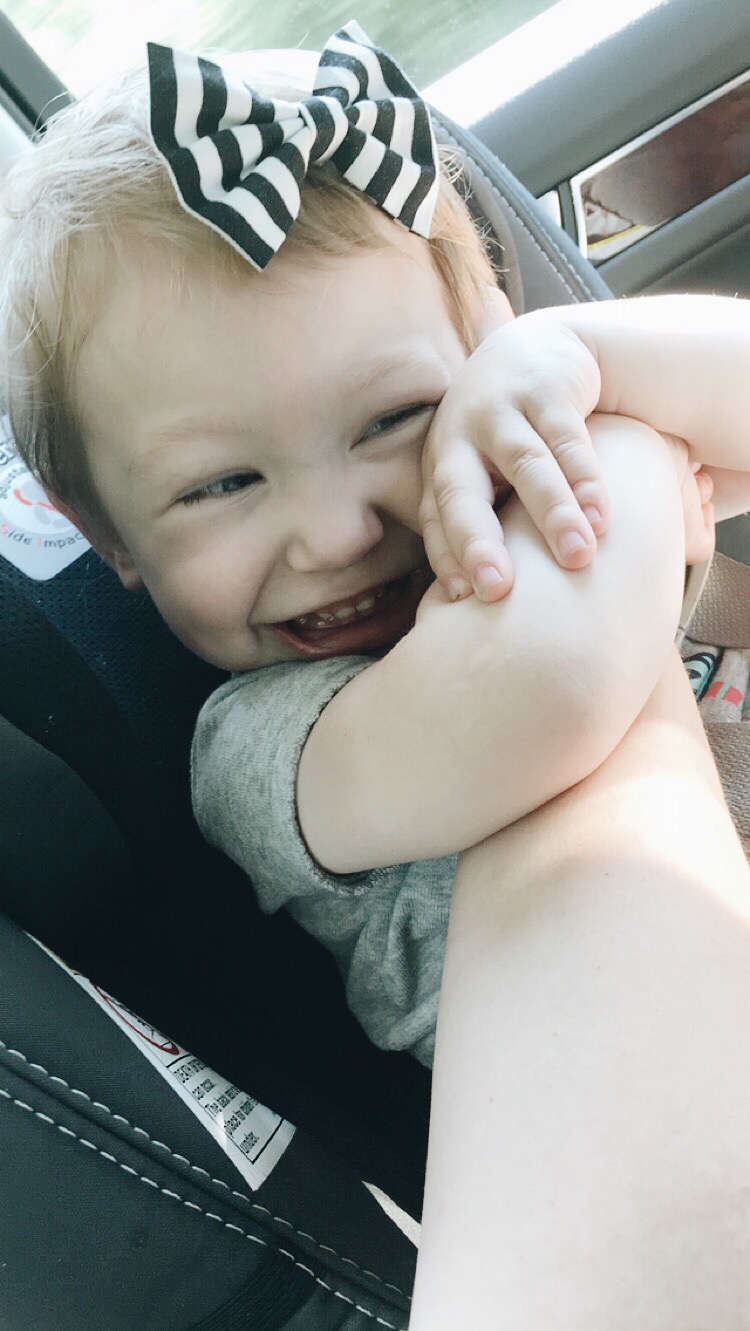
*Month 21*

9:24 AM
*Month 21*

The days are long but the years are short...  Especially these summer days and these toddler years.  It seems as though she's changing every second!  We've had such fun this summer just doing whatever we wanted.  Juliet has started gymnastics and we go once every week.  Since she was a late walker, we thought it would encourage movement like jumping, running, & tumbling.  She loves swinging from the bar and knows exactly where the balls and bubbles are kept.  I know all this because I have to constantly & cleverly distract her from both until it's time.  Such a mess!  We have so much fun with it, though and her progress has been significant with only 3 classes.  We're so proud of her!  (Plus, it was a ton of fun shopping for little leotards & tutus...)  


Age: 21 months

Stats:  25.6 lbs

Sleep:  We are back to sleeping through the night!  Woo Hoo!  However, we have 6 new teeth!  For all you moms out there that have children that get multiple teeth at a time... this is my shout out to you!  Ever since she started teething, they come in like an army... never just one or two at a time.  I need to do a post on teething and how we've survived for all you new mommies out there that might be experiencing the same thing!  

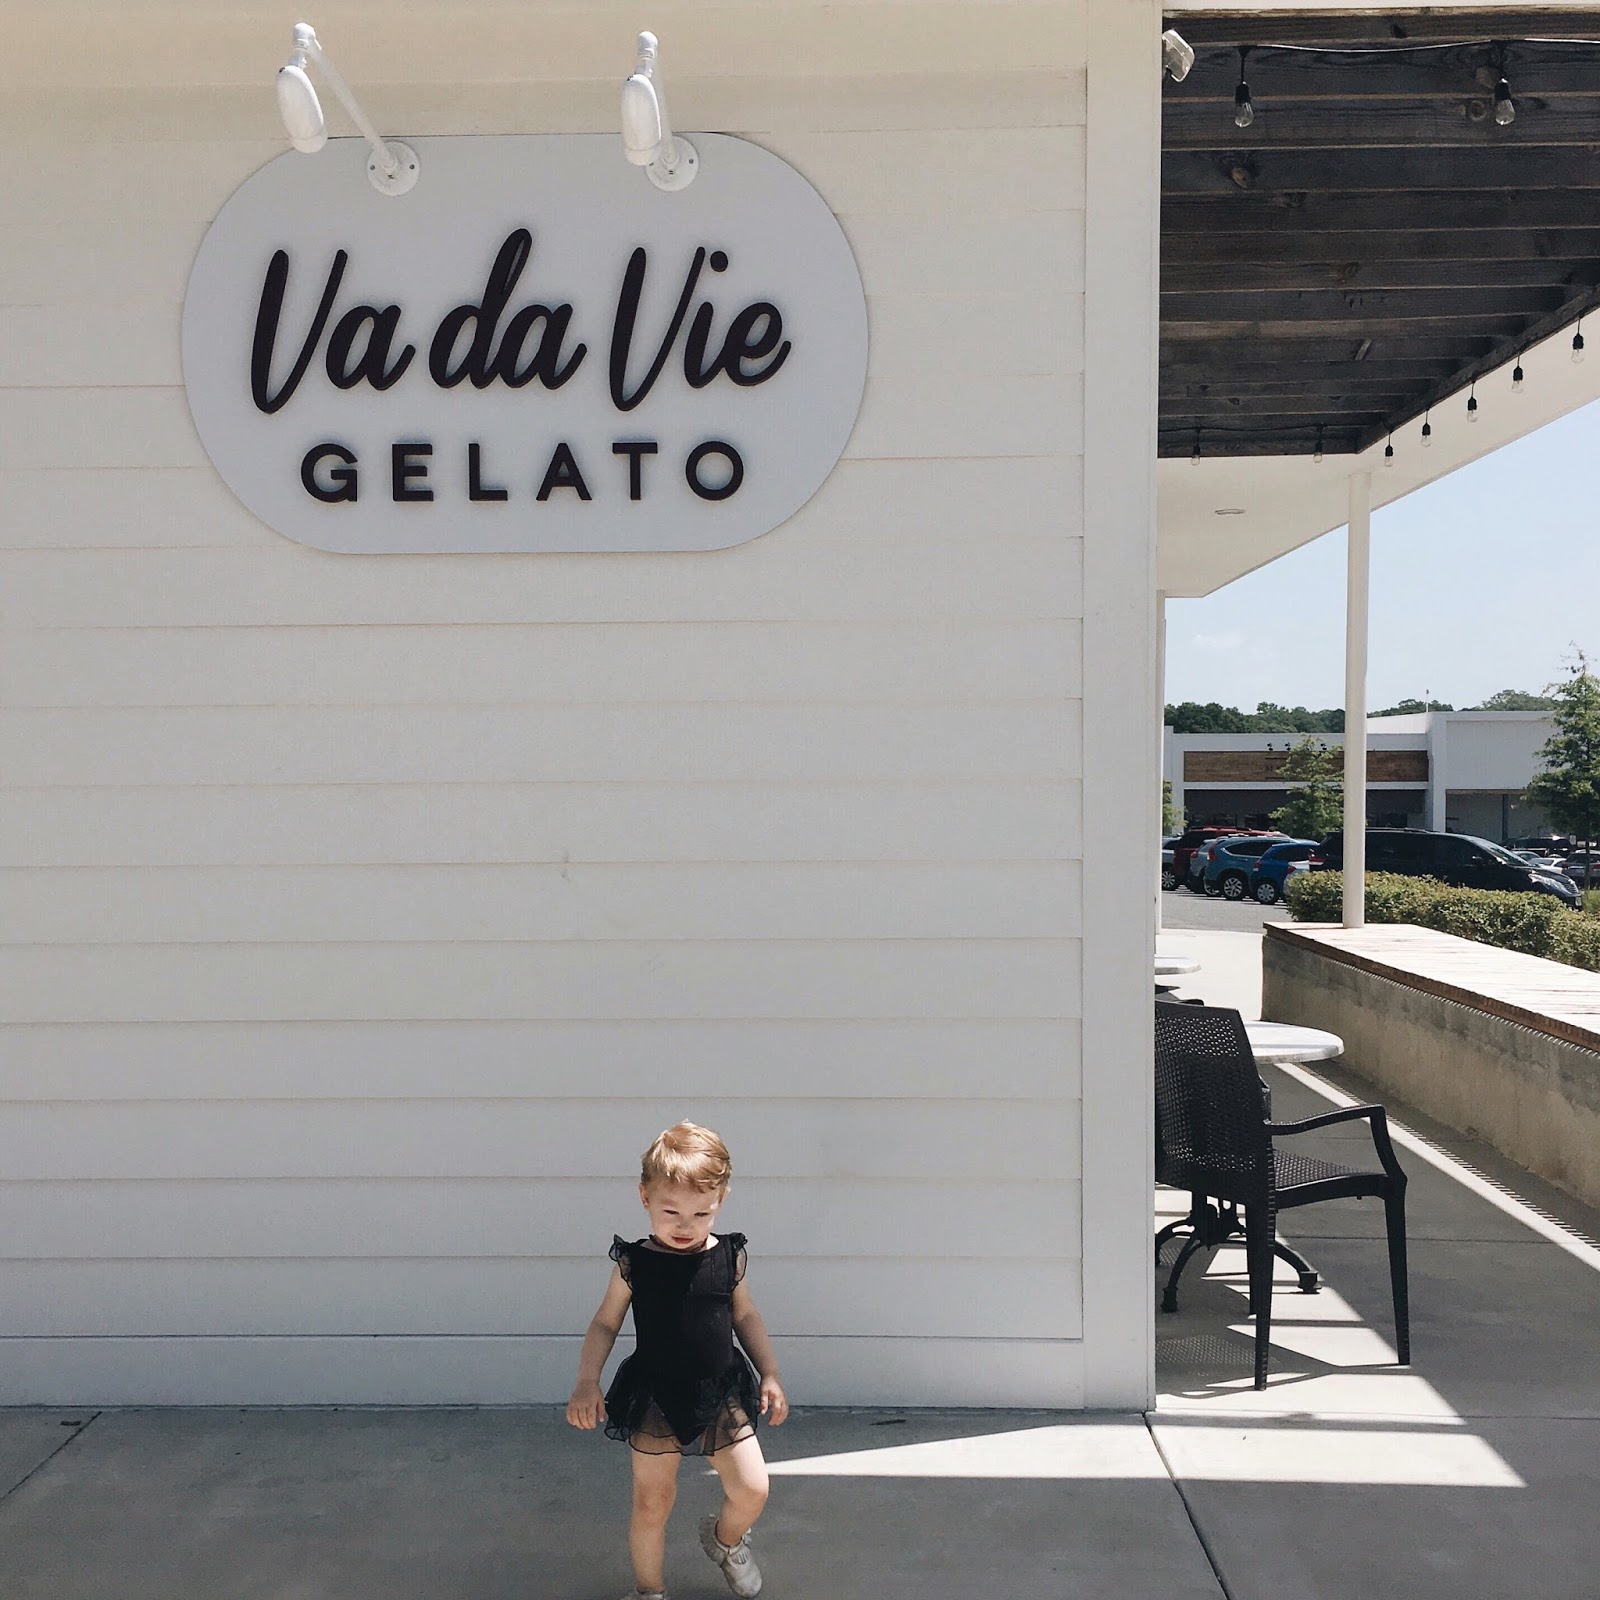
Clothing:  Hello, everything 2T!  However, I sometimes venture over to the big girl section... Target has the cutest line now for older girls called Cat & Jack.  This shawl and tutu are perfect for playing dress up!  I've been working on her closet and I'm trying to figure out a aesthetic way to lower her clothes to her level so that she can pick out her outfit for the day.  

Favorite Foods:  She hasn't tried anything new in a while.  Right now we're eating lots of tortillas, cheeses, fruit and raisins but we offer her everything!  We hide veggies in smoothies and I still buy her little baby food pouches that have veggies in them. 

Words: She shouts, "done" now when she's finished eating, over and over again loud enough for our neighbors to hear her.  Two new words this month is "ki-cat" for kitty cat and "pooh".  

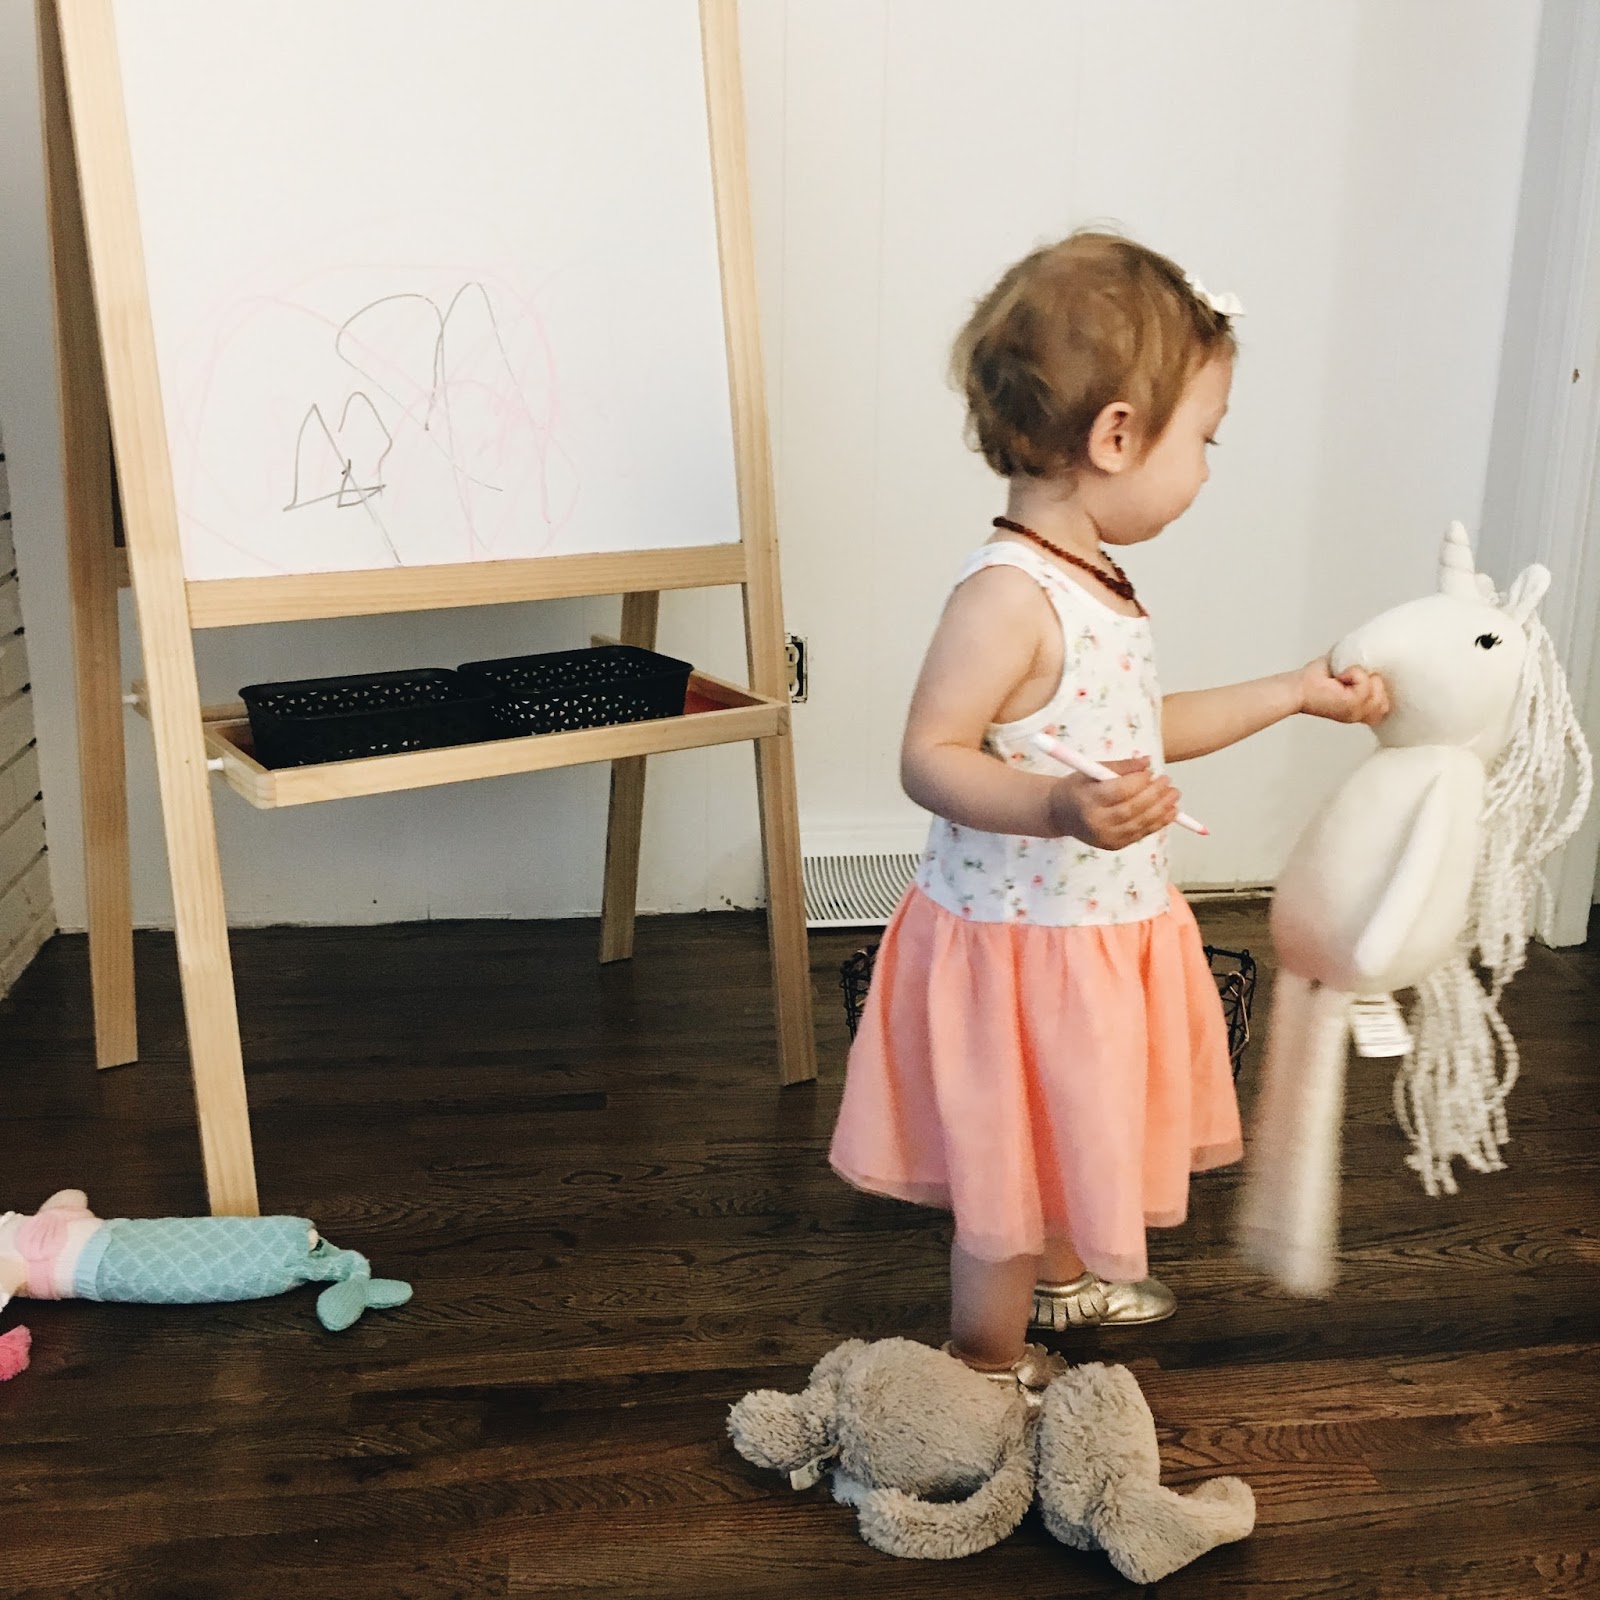
Favorite Activities:  Playing in the dirt outside.  She would sit in the dirt all day; scooping & pouring, if I would let her, no matter the temperature.  She also loves writing on her dry erase easel with markers... while watching Pooh, of coarse.  She loves to color, play with my makeup brushes, and now that we have a kitchen... help me cook.  We are shopping for a kitchen stool for her to use while I cook and I've found one on Amazon that I like.  Do you guys use one or have any suggestions?  

Other Milestones:  Getting 6 new teeth!  Rarely sits in a highchair anymore.  When we go out now, we just ask for a booth.  We still use hers at home but it's more like a tall chair that pushes up to the table.  (You can see it here.) She has started taking off her diaper if she pees and she'll tell me when she's dirty so I'm starting to research different methods and tips for potty training.  I've read the entire Pull-Ups website and we sat down the other night and took their personality test that helps you know more about your child's personality when it comes to potty training.  Juliet is the Owl.  :)  I will do a seperate post on that when we get started!

Highlights:

 She gives hugs, squeezes, and kisses so generously and I hope that never ends.    


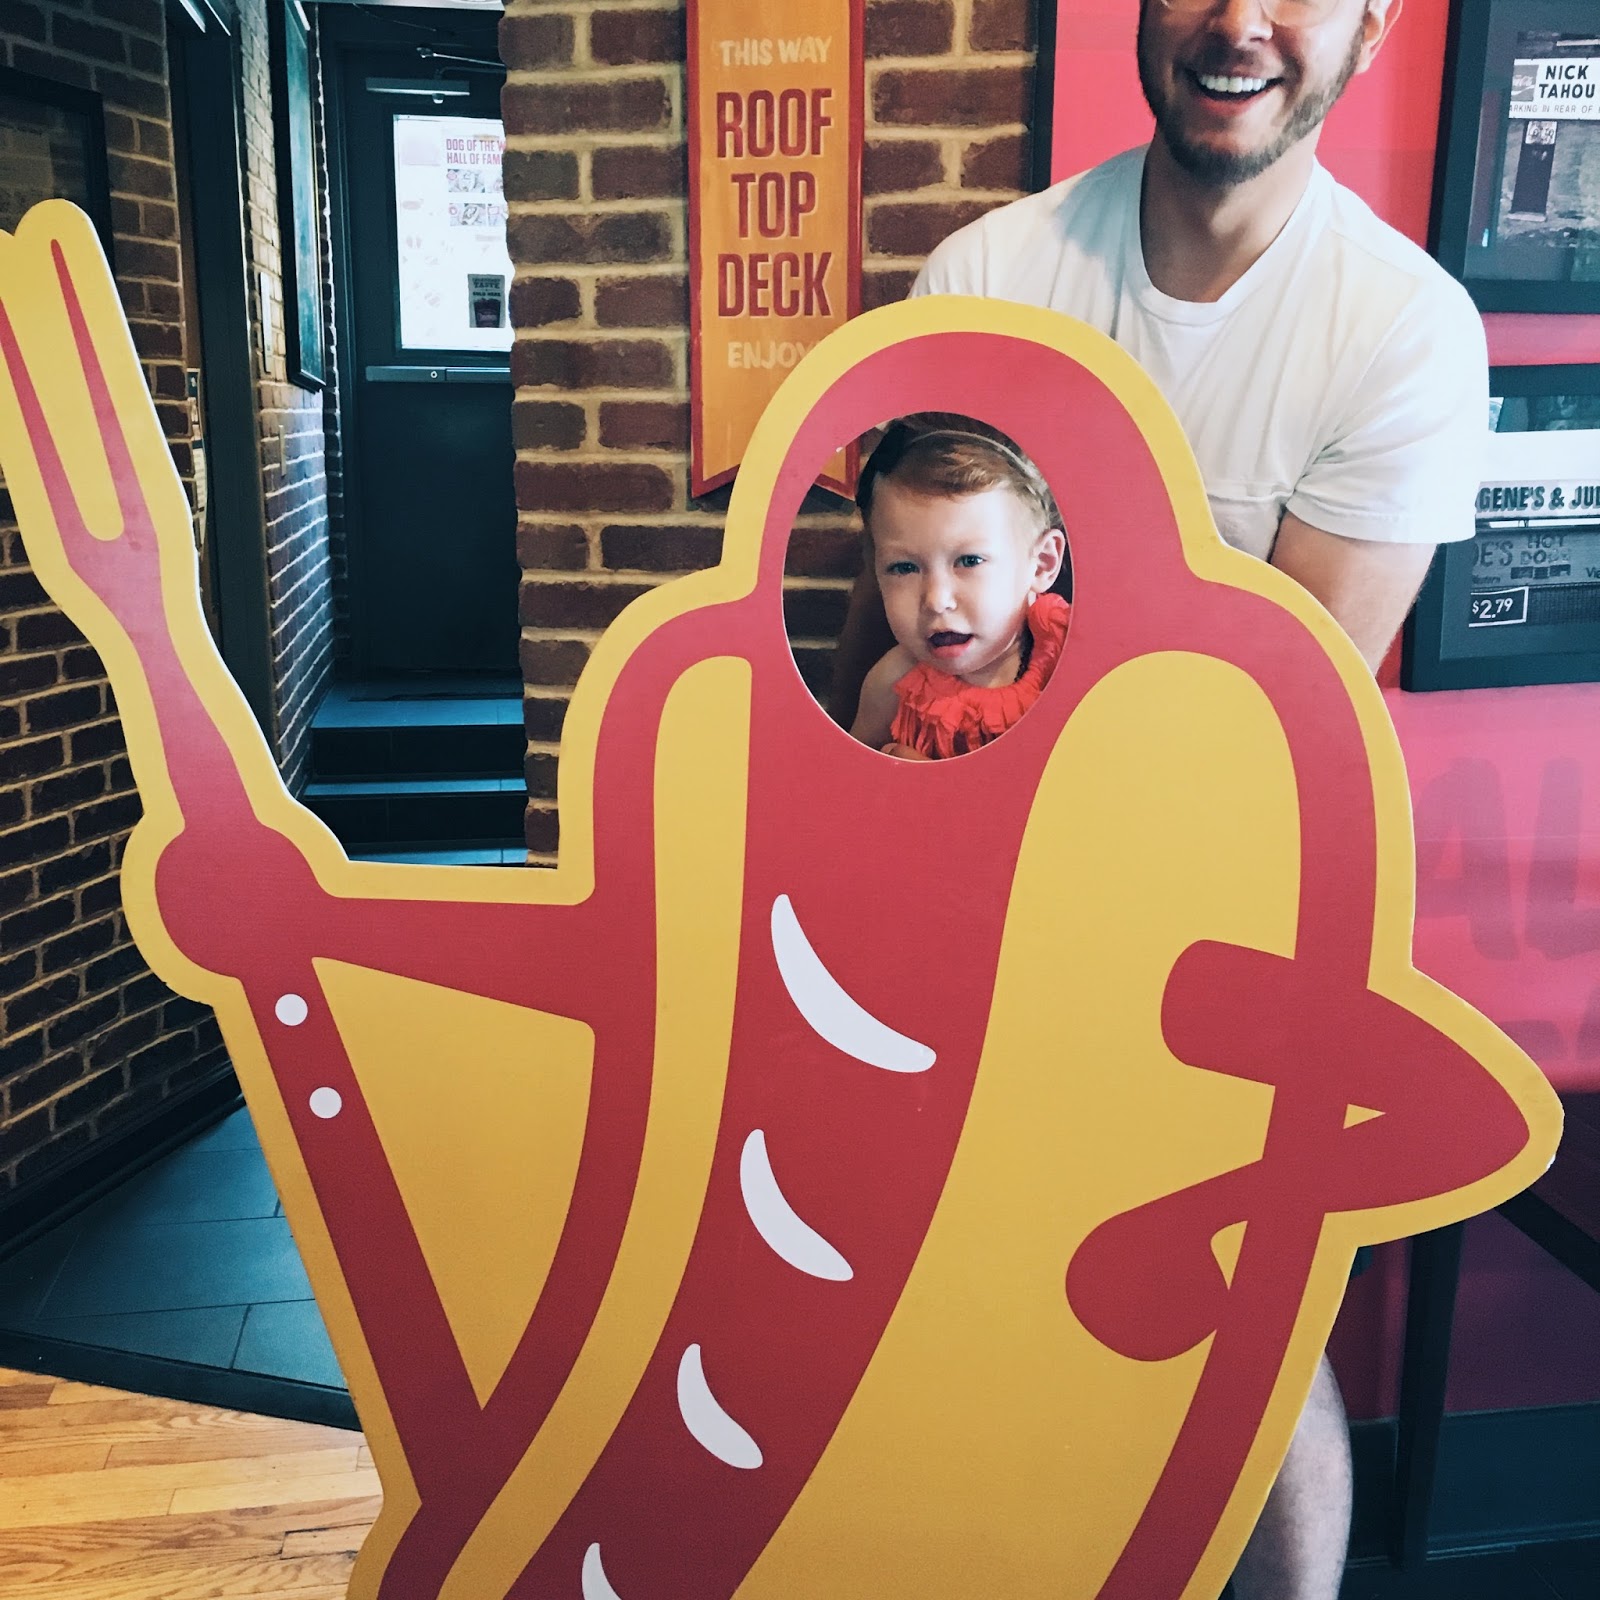
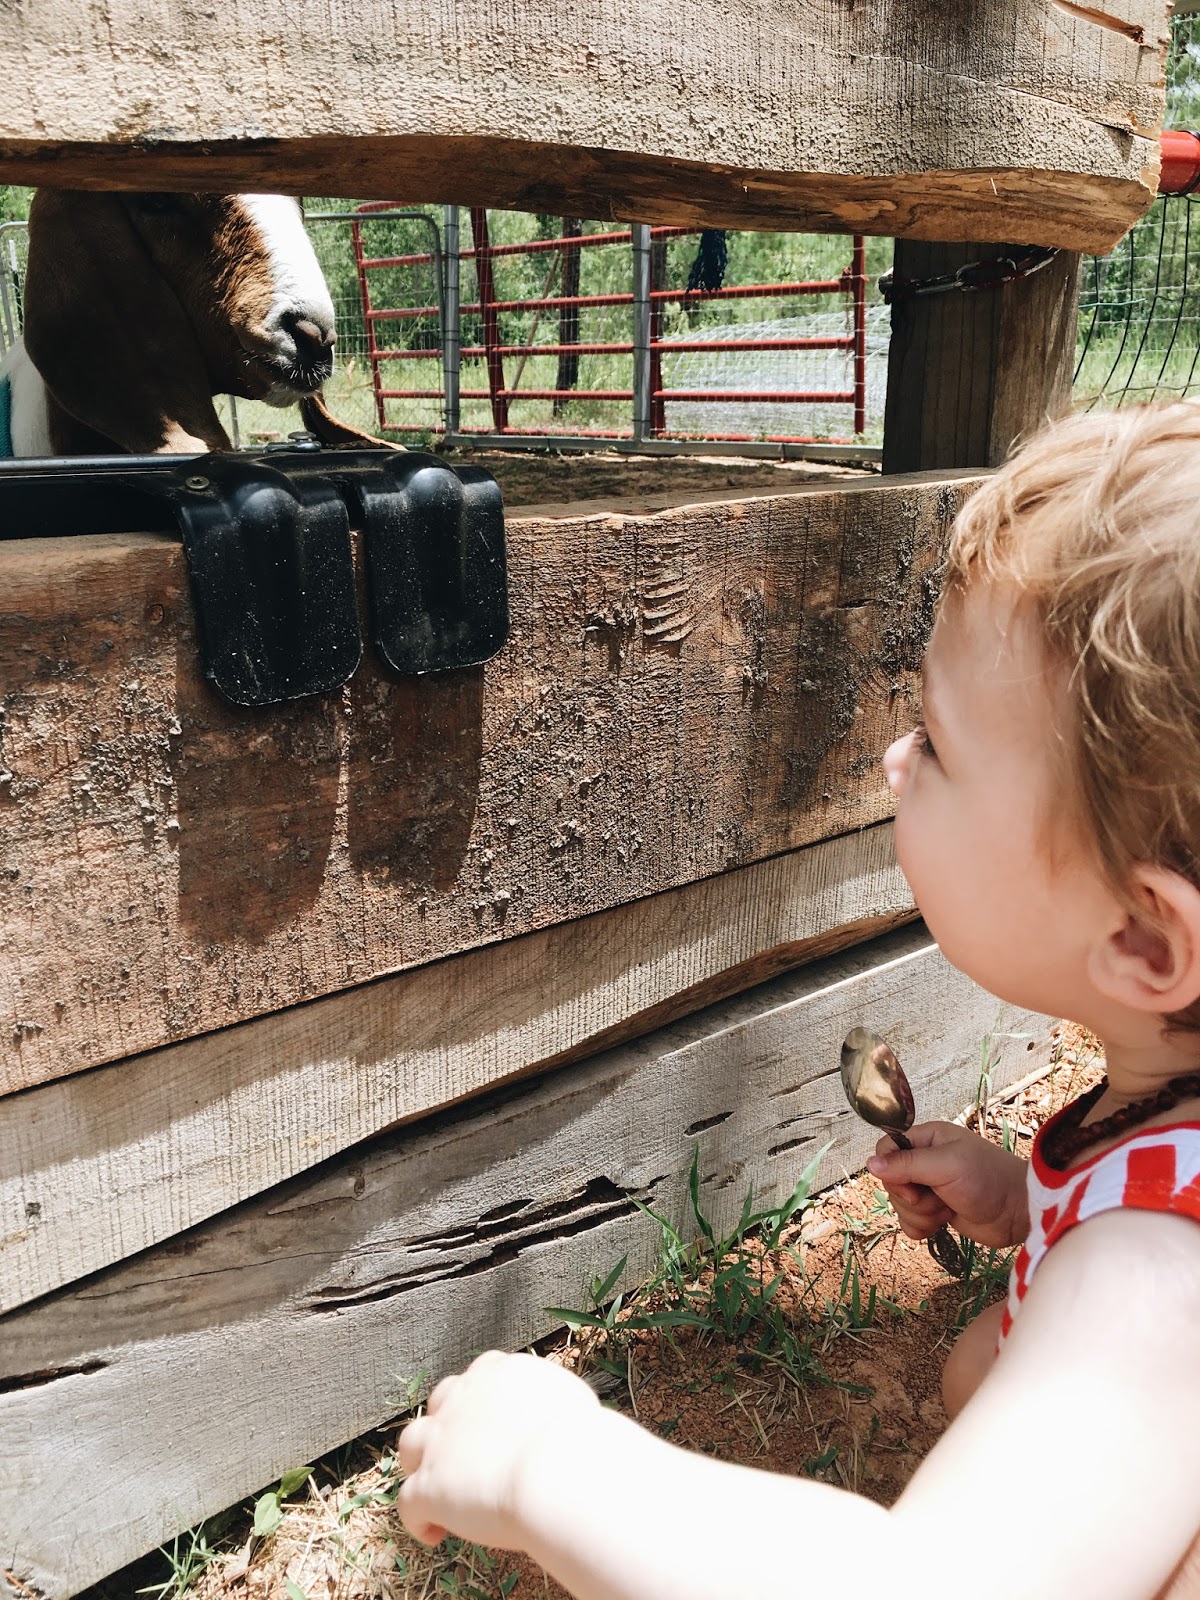
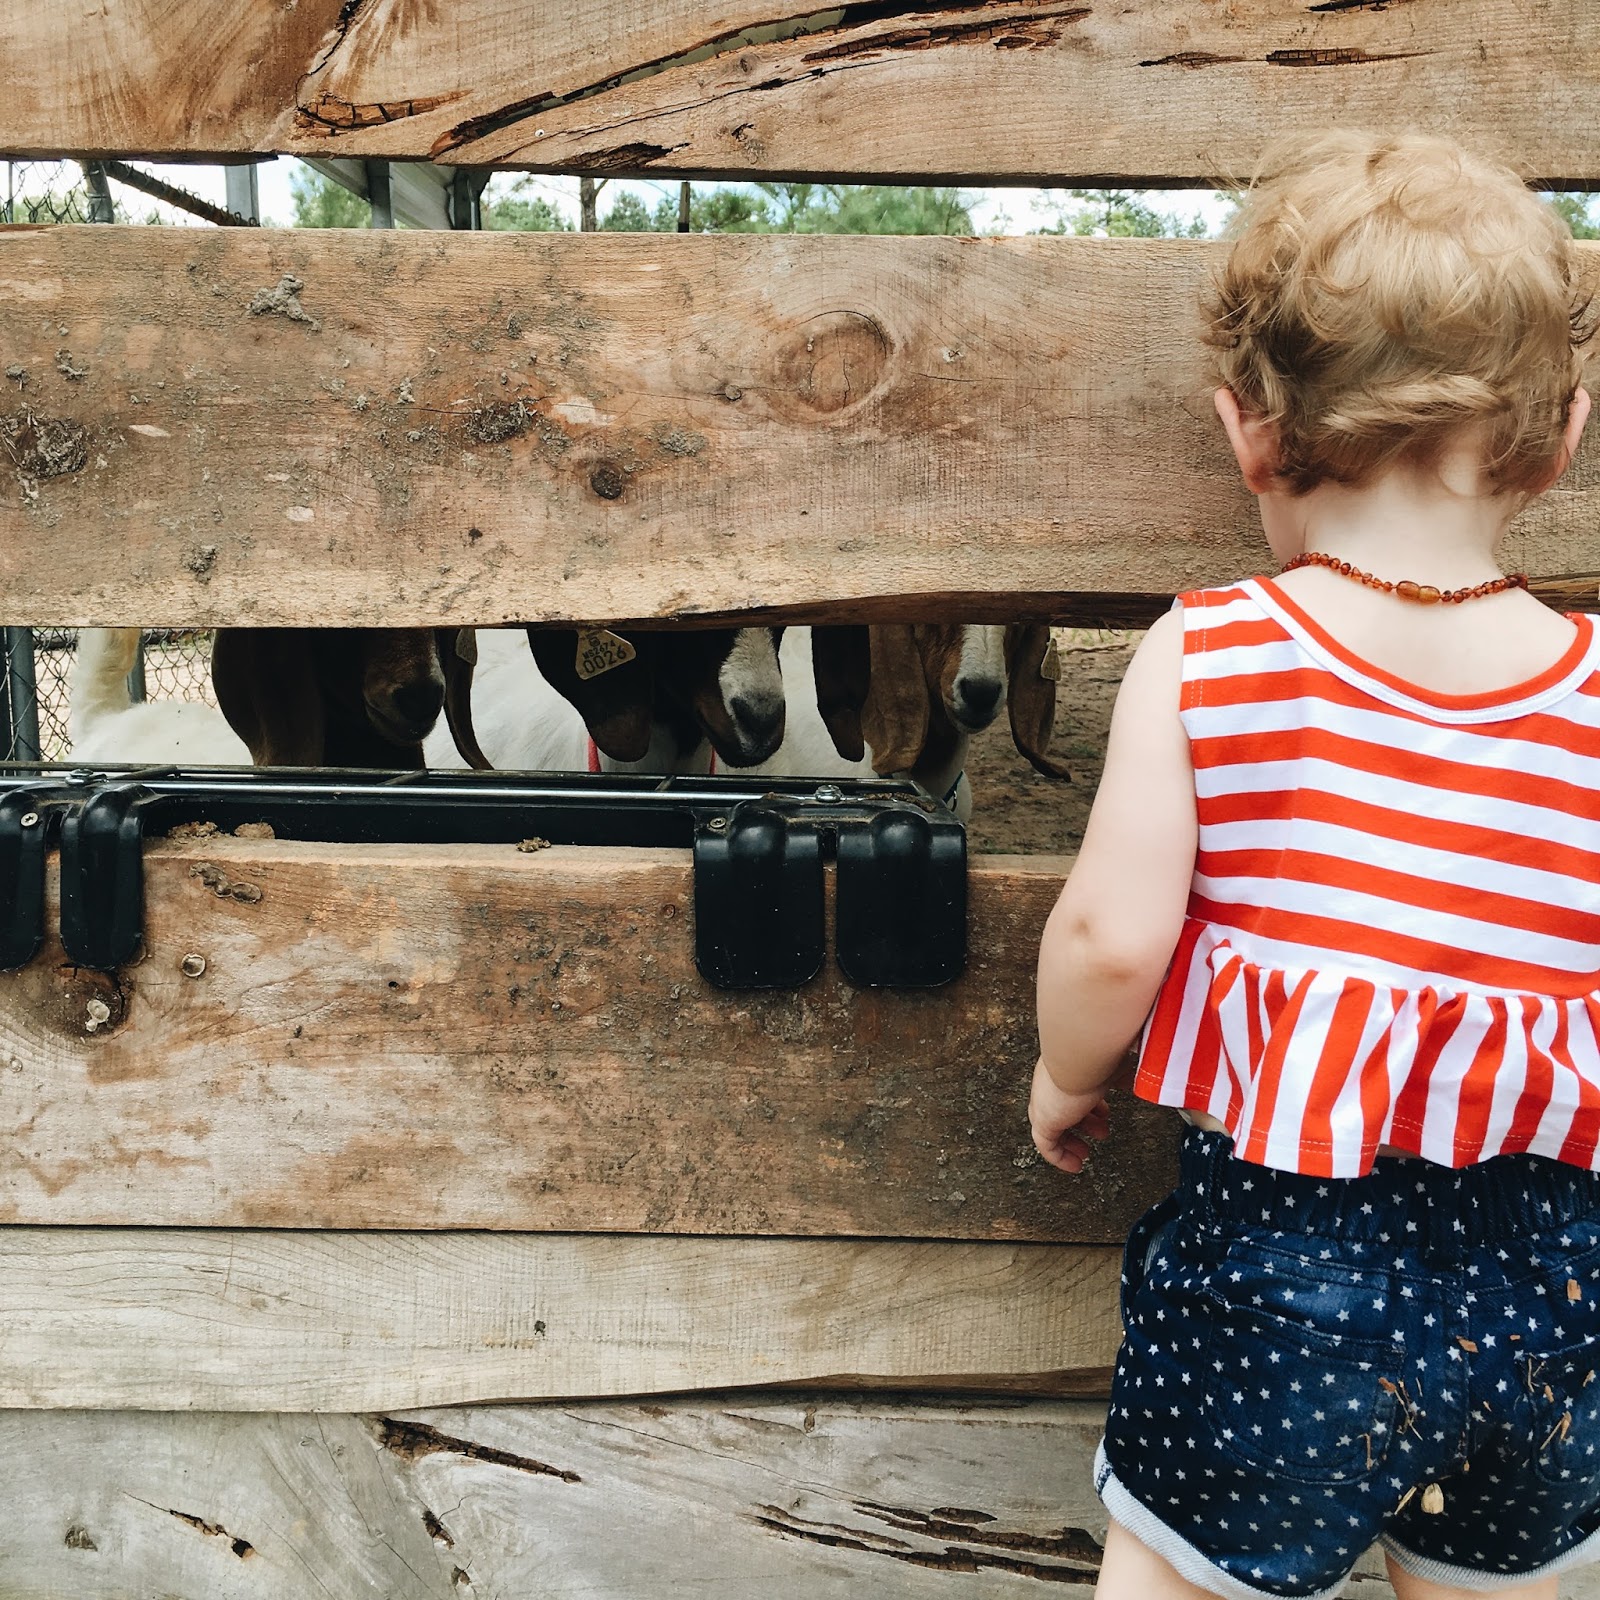
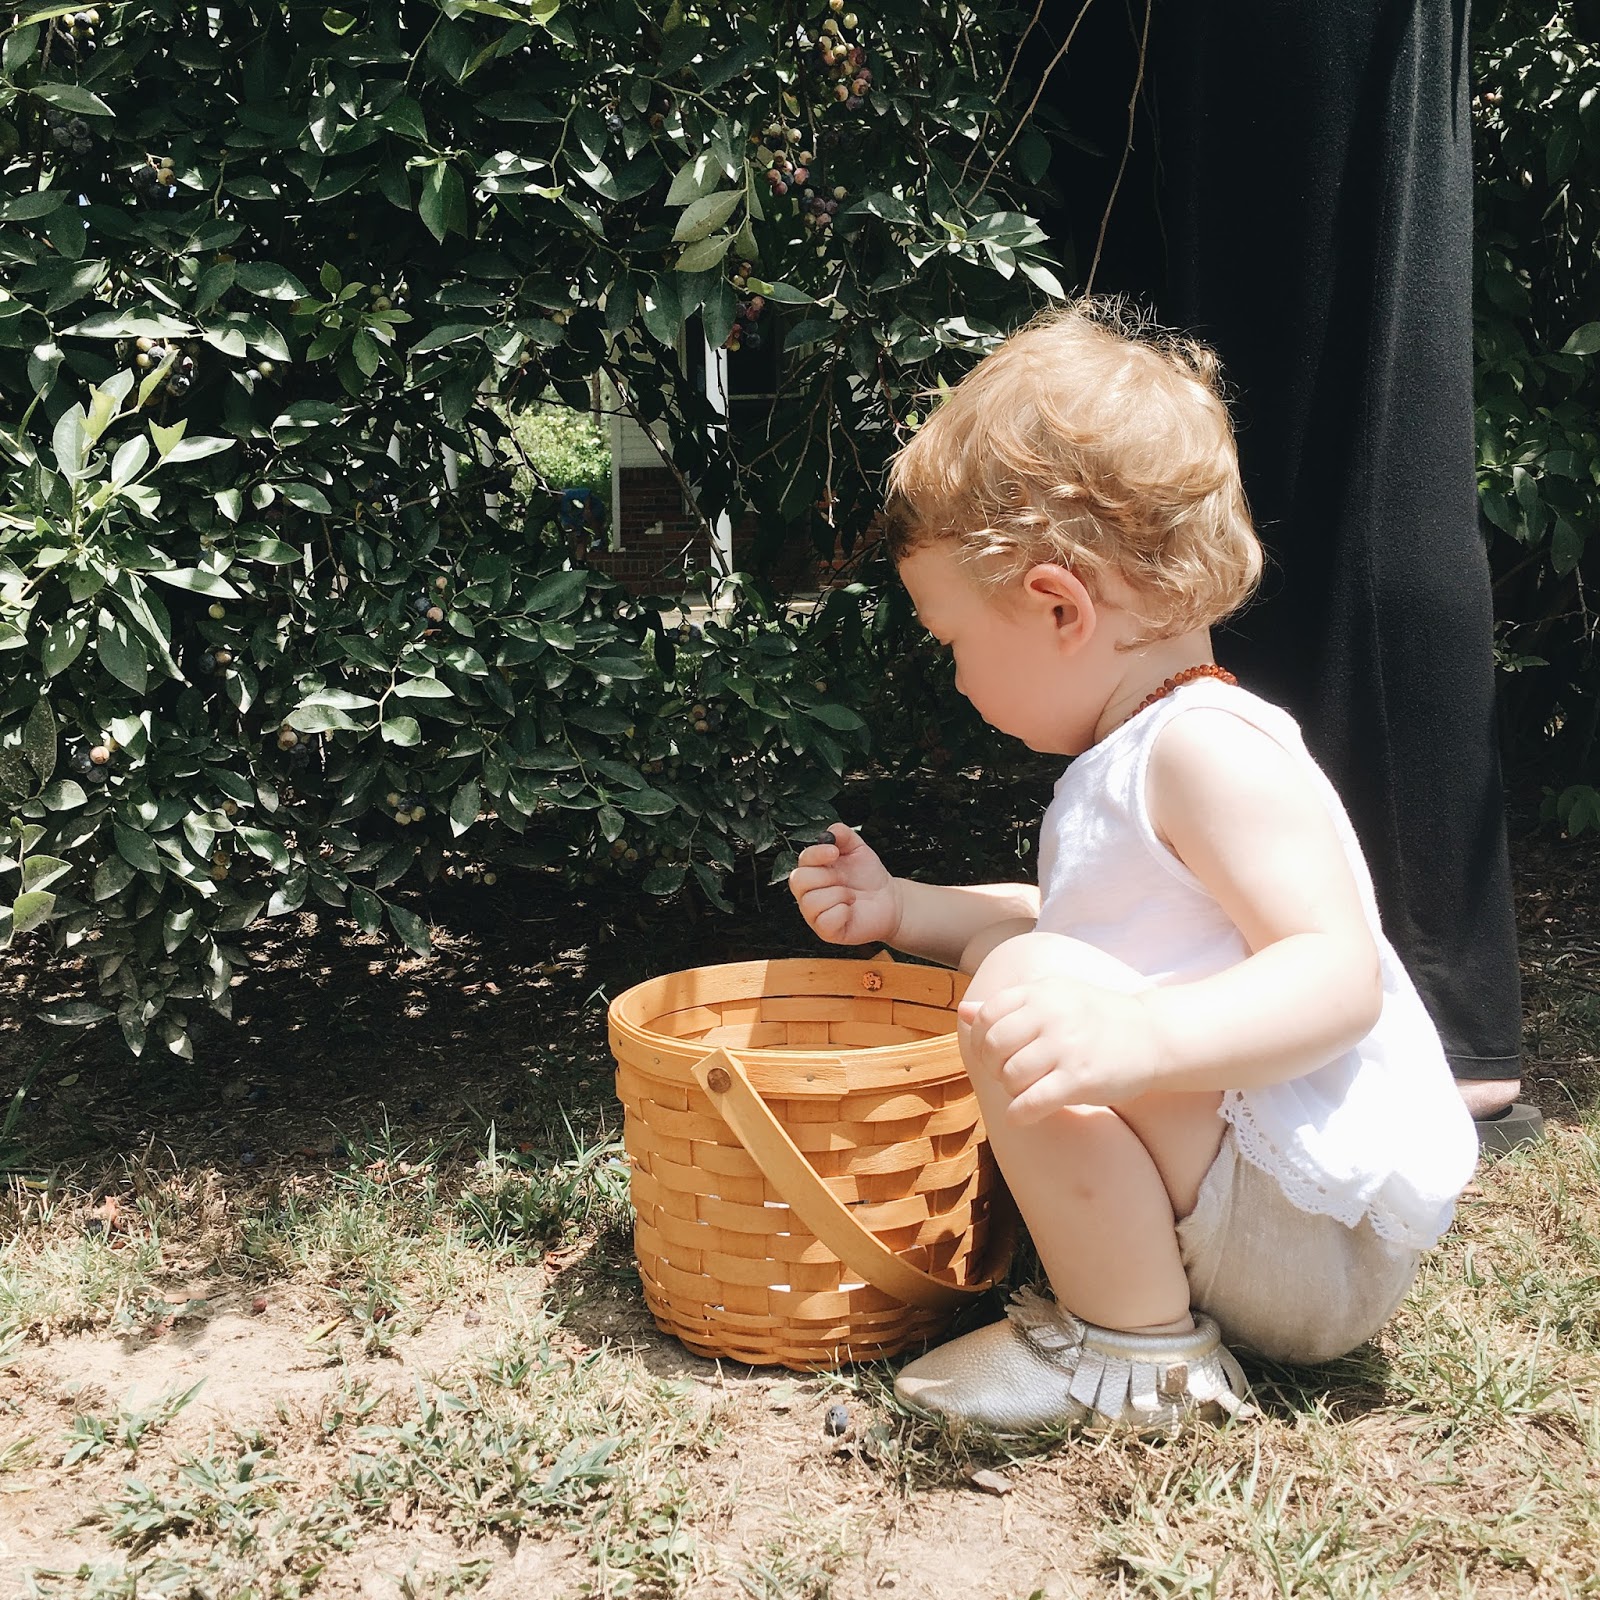
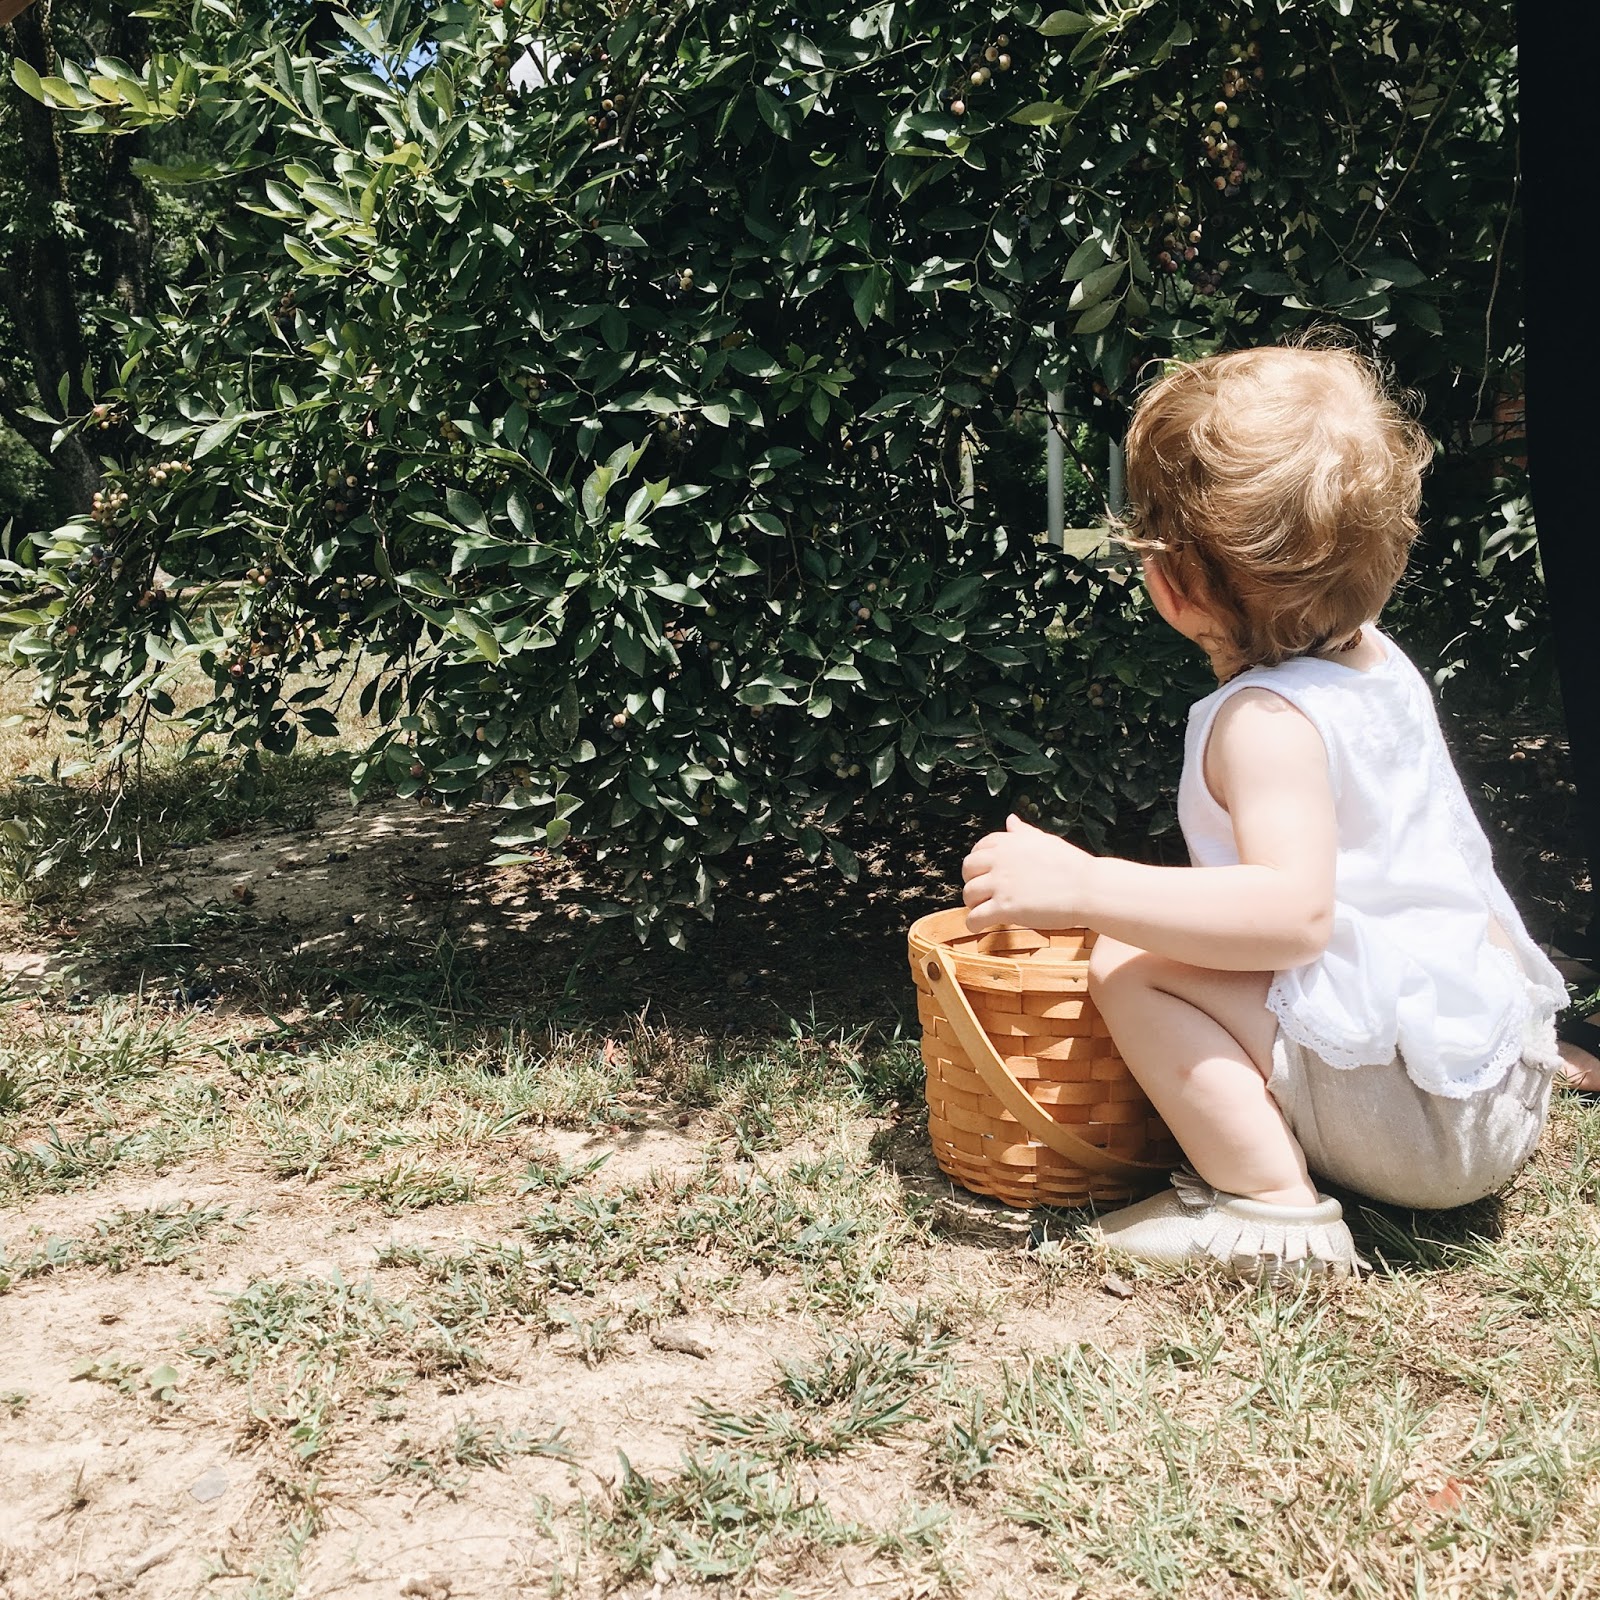
Our trip to Mississippi, the first week of July.  She got to see 3 goats, pick blueberries, eat whatever she wanted, and celebrate her cousin's 4th birthday!  


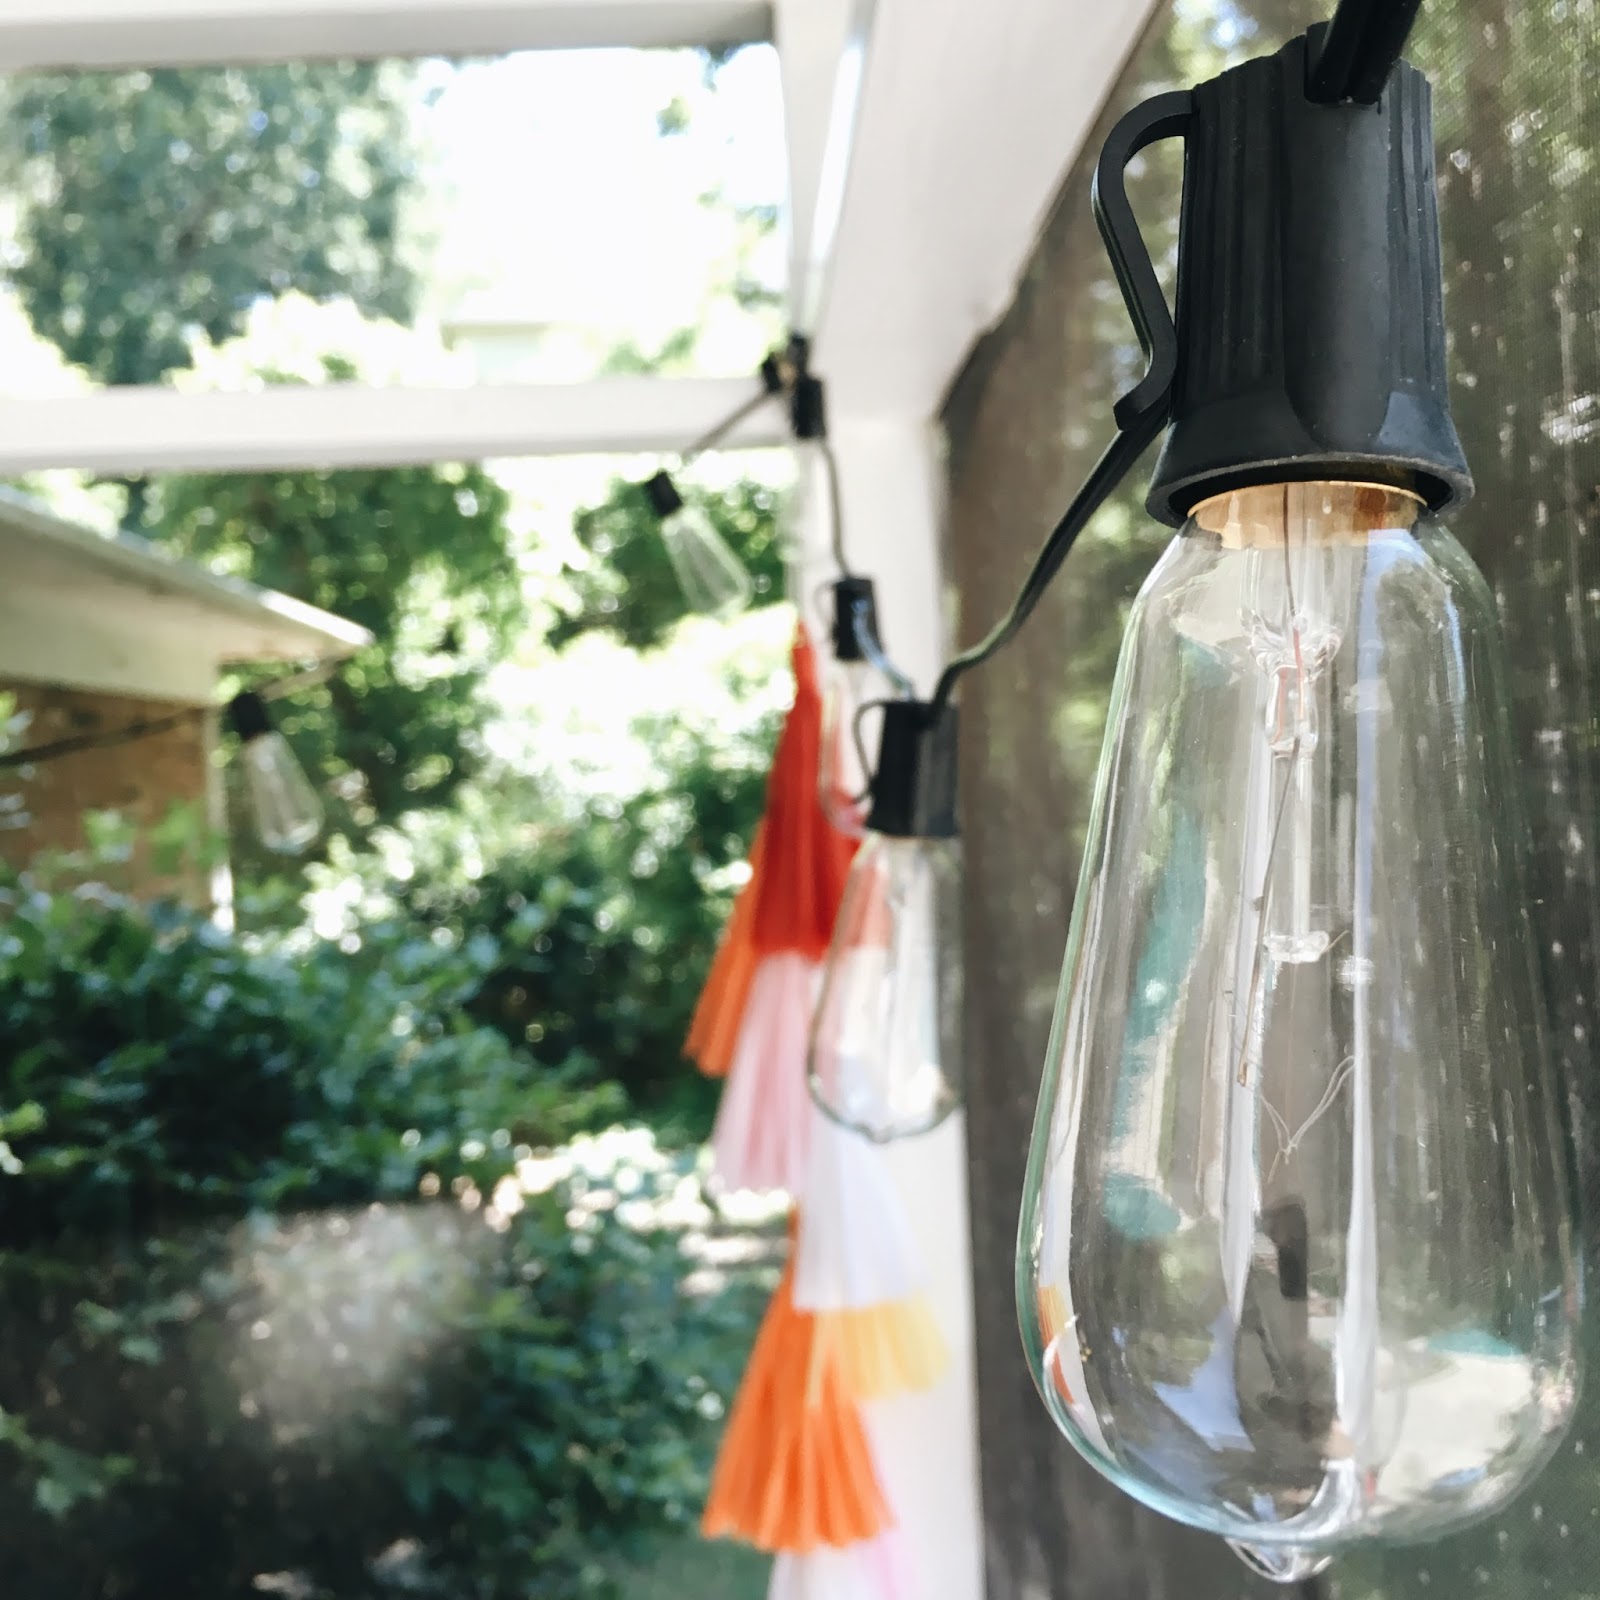
My brother's little boy turned 4 while we were there so we got to create a little party with family.  My Mom ordered him the cutest cake, I laid a blanket down outside and strung a few lights to help celebrate.  This picture of them with my sis-in-law, starring each other down over cake makes me laugh so hard.  


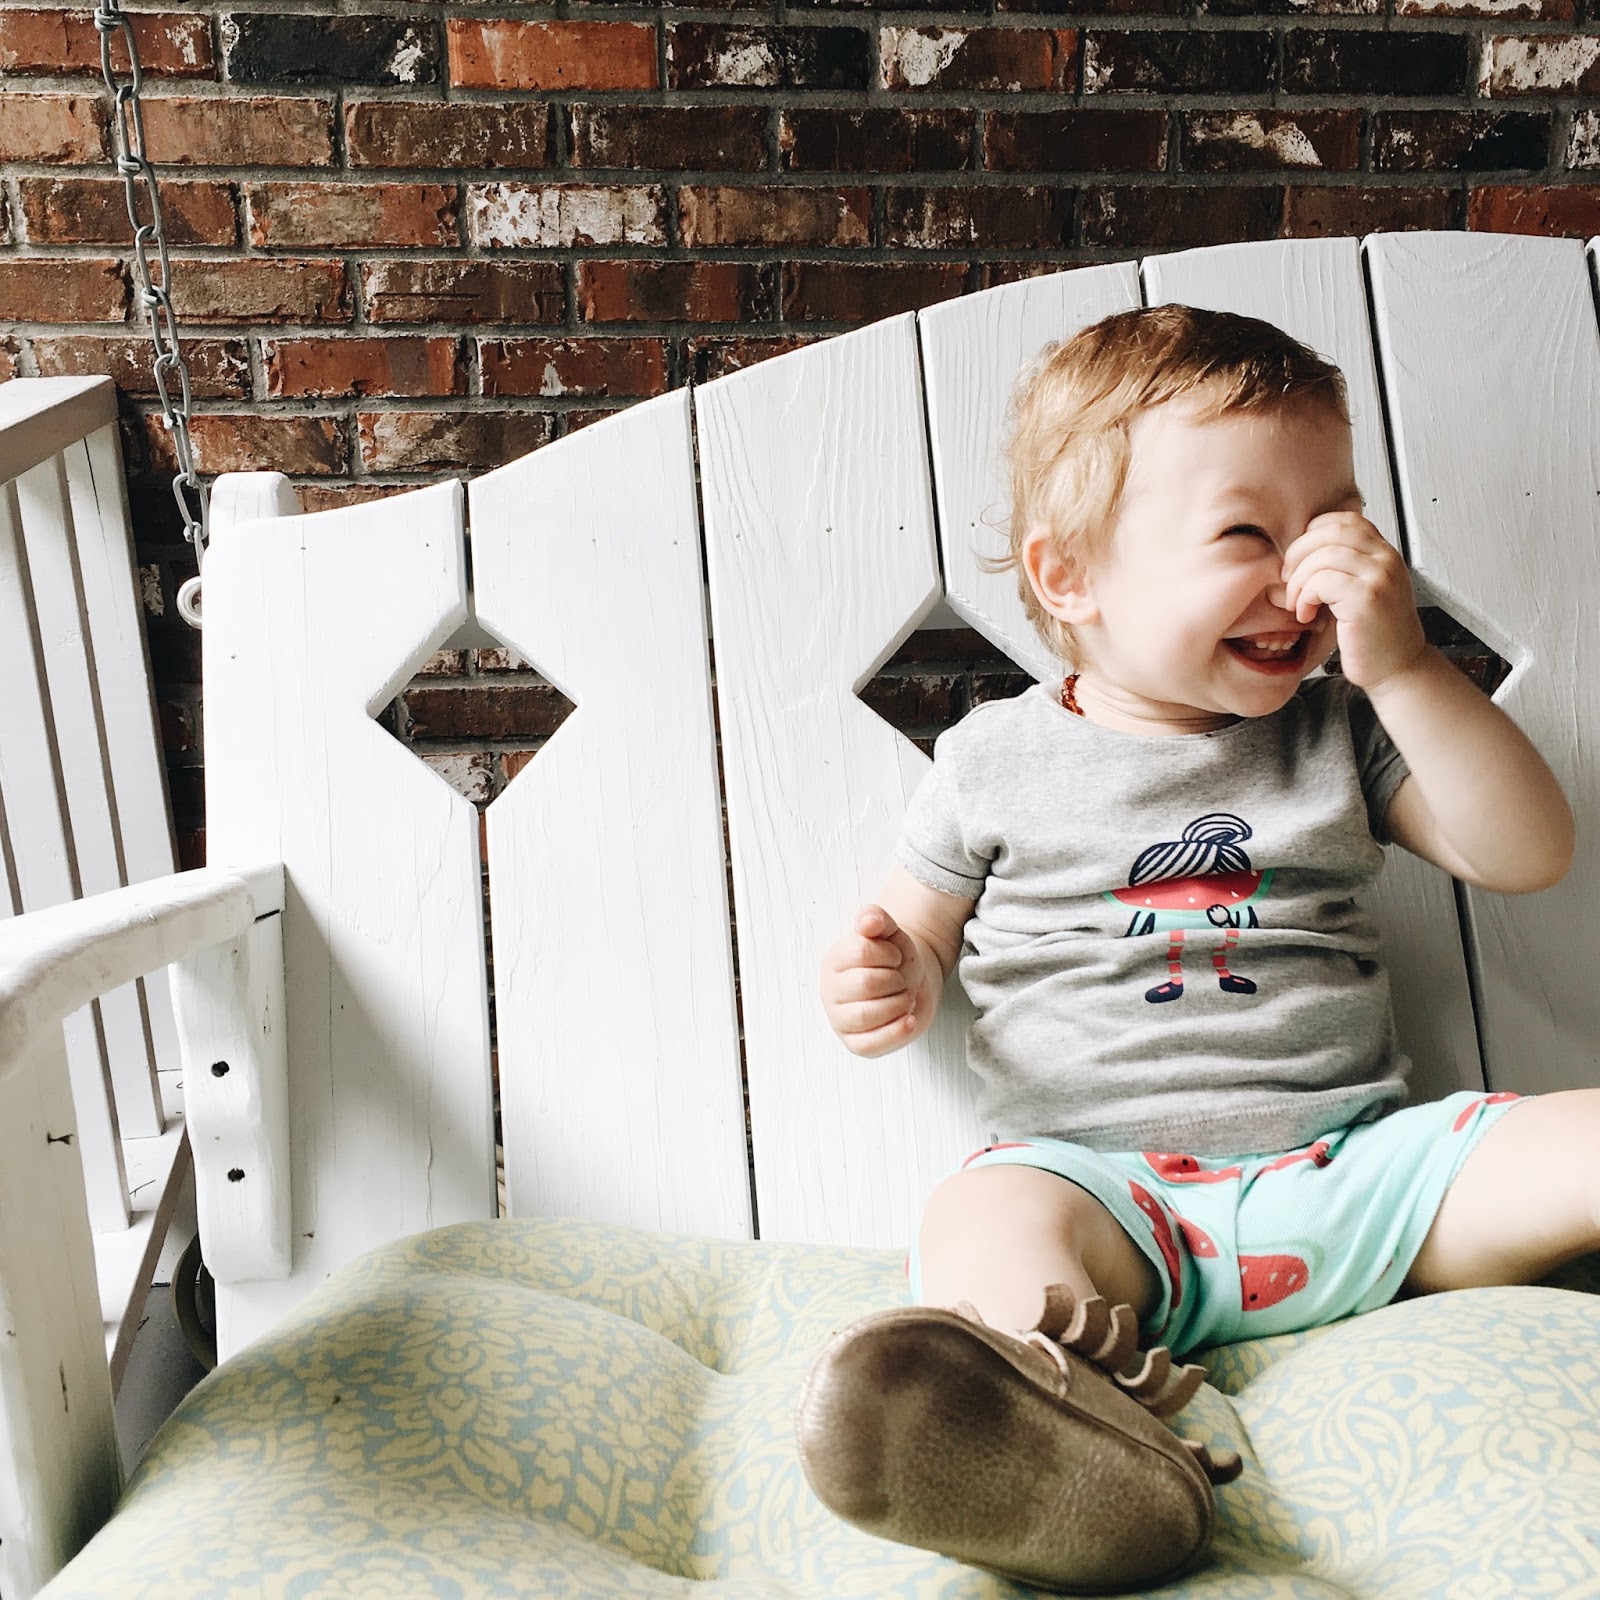
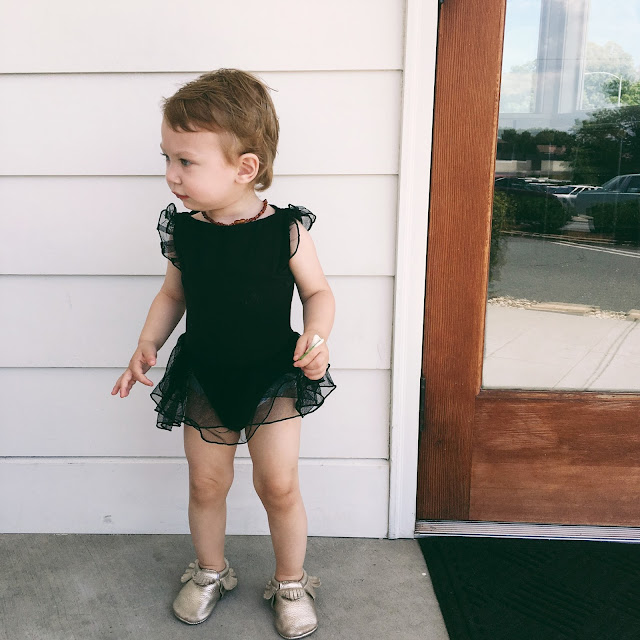
That footprint on the bottom of her Freshly Picked moccasins will be such a keepsake! Love them!  


SaveSaveSaveSave

Frozen Key Lime Pie

5:44 PM
This is the best pie to make during the summer.  I made it this weekend for Joey's dad that came down from PA and even though it's terrible unhealthy it was such a great, cold treat after working all day in the hot sun.

After you read the ingredients you'll know why I say it's "un"healthy... you'll also want to make a quick run to the grocery store!  


CRUST //

Ready to use graham cracker crust
Brush with egg and place in oven for about 5 mins at 375 degrees

PIE FILLING //

1 cup heavy whipping cream
1/2 cup sugar
3/4 cup key lime juice
1 tablespoon lime jest
1 pint half-&-half
1 (12-ounce) can sweetened condensed milk 

DIRECTIONS FOR PIE FILLING // 

Beat heavy whipping cream until slightly thickened.
Gradually add in the sugar and condensed milk and mix with electric mixer at medium speed.
Add lime juice, zest, and half-&-half.  
Taste test 
~you can always add more lime juice if you like
Pour pie filling over crust.
Cover and freeze for 4 to 6 hours until firm.  

I hope everyone is enjoying their summer and fitting in sweet & cold treats whenever possible!  
We've had to make special trips to get snow cones or watermelon milkshakes several times this summer already.  Enjoy! 


Kitchen Reno Stage 2: Appliances, Cabinets & Countertops

9:52 PM
When it came to redoing our kitchen we did not have the budget to go the "custom" route with the cabinets and drawers, but we wanted something stylist, functional, and budget friendly.  Therefore, we chose to go with an IKEA cabinet system and buy our doors, drawers, hardware and panels from another company.  (More on that later...)  

So we left off the last kitchen post with it looking like this:  Floors finished, kitchen demoed completely, & 36 inches of the wall taken away!  We did use a general contractor to demo the kitchen and a floor company to install the hardwoods, but other than that we've pretty much done the work ourselves.  It's been 3 months and we've slowly been chipping away at this at night, on weekends, and during nap times, but it's come a long way!


After the floors were finished, the next step was to remove the wood paneling down to the studs.  After that our contractor ran electricity from the "old" location of the refrigerator to the "new" location, which you will see in a bit.  Joey then installed new insulation between the studs, put up backer board for the tile backsplash, and sheetrocked the back wall.


In the picture above, you can see that we were starting to assemble the cabinets.  You can also see the "new" location of our refrigerator.  We moved it from front-right to back-right to improve the flow.  After a couple days, we had all the cabinets assembled and could finally start putting them in their correct locations.  That was super exciting!  Finally starting to see the "kitchen" through the chaos.


We had our refrigerator and stove delivered but had to wait for the countertops before the dishwasher could be delivered.  These are our appliances and if you look closely you'll see that they aren't all the same brand.  We went with Samsung mostly, but bought a Bosch dishwasher.  I love that about stainless... the appliances don't have to be the same brand to look great together!


 I had a gas stove at our last house and even though I loved the way it cooked, I couldn't stand for it to be dirty, (which was 95% of the time), but cleaning it was such a hassle so this time I definitely requested an electric glass top range!  


Well, hello MARBLE!  We ordered the countertops from Home Depot and then left for vacation!  When we got back home, I went to pick out our slab and I fell in love with this pegasus white marble.  It has such gorgeous movement throughout each segment.  It's a very sensitive stone with lots of upkeep but we wanted white/light countertops with texture to go with our cabinet color.  Plus white just looks clean!


We said at the beginning of this process that it was going to be well worth the effort and that is definitely true.  All the problems that arise can be stressful but you end up solving and moving pass them.  The one thing I've learned from all of this is that nothing, (well in most cases), is definite.  All things can be changed or corrected so take a deep breath, relax, & dive in!  Orrrrr... stop what you're doing, tell your daughter to hand over the xylophone mallet and have a jam out sesh instead!


Next kitchen post will be more countertops, the sink, the faucet, cabinet fronts and hardware.
Are any of you guys in the process of redoing a kitchen?  I'd love to hear!  


Kitchen Reno Stage 1: Demo & Hardwoods Installed

8:57 PM
This the beginning of our kitchen renovations.
It was a typical 1960s kitchen with white wooden cabinets and tile countertops.  


The grout was stained, the backsplash was peeling, the appliances didn't work, and the cabinets had wood rot.  The doors were falling off (below the sink), as well.  The kitchen layout also made the room feel so closed off from the rest of the house.  

This is during the demo-ing process.  After just a few minutes, it was already beginning to feel so much  bigger!  The removal of the upper cabinets and the wooden valance above the kitchen window was crucial to it feeling bigger.  The ceiling is stained from the age of the cabinets but after a can of KILZ that was fixed! 


After demoing the kitchen, we began ripping up the laminate floor to get ready to put down hardwoods.  The rest of the house has beautiful hardwood floors that are 1.5" redwood oak.  We wanted to continue that through the rest of the house as well, including the kitchen.  


The picture below shows the wall where the "old" refrigerator was incased. We took away the incasement which included two panels on each side of the fridge and two upper cabinets.  I also chose to take away 36 inches of this wall so as to open up the area for more natural sunlight and friendly conversation.  

Before:

After:

You can see all the way into the kitchen now and definitely feel more connected to the space.  Such a big improvement!  Now when I cook I will be able to see Juliet playing in the living room or have a conversation with someone in the next room.  

Hardwoods are now installed- all shiny and new!  The next steps are to removed paneling and hang backer board in it's place in preparation for a wall full of tile!  Yipp-eee! 


The next post will have more demo (waaaahhh!) plus the installment of new appliances, backer board, and kitchen cabinets with sources!  Stay tuned! 


Let's Take This Party Outside

1:44 PM
We "semi" finished the screened-in porch this past weekend!  Our kitchen is yet again at a stand-still, so I was very antsy to start on something else and focus my attention there... instead of over there.  That brings me to our outside patio.  Here's a before picture from when we moved in and as you can see it needed de-wind-chimed, decluttered, repainted, pressure washed, and that fan had definitely seen better days.  The only thing that stayed are those darn ceiling hooks.  We broke a few trying to remove them... So we just let them stay.  Sunday was the big day!  We moved out, cleaned out, painted, hung a new fan and then moved everything into place.  

Before


Progress


We bought this outdoor furniture 2 years ago at World Market.  When we bought it, the wood was a natural color but we stained them black last year.  They've held up very well... even better after we stained them!  We created a sitting space to the left of the back door and left room for a walking path from back door to screen door.  

The pillows are from West Elm, chair cushions from Target, and rug from IKEA.  We've had the rug for a long time and decided that it was time to retire it from inside to outside.  The fan is from Hunter and the other small decor pieces are mostly from Target and HomeGoods.  Juliet's crocheted hanging swing is from HamacArt on Etsy, (I'm not sure if they make them anymore).  

To the right of the back door, we plan to eventually create an eating area with a bar/table and tv.  That area is about 8 feet long x 12 inches wide with a half screen/half wooden wall.  I "doodled", (in every sense of the word),  my idea onto a notepad so it would help us make decisions based on how we want it to look.  We've decided on something like this...


Long, free-standing piece of wood for bar/table with two or three bar stools.  A TV on the wood part of the wall (right side), and hanging lights over the bar on the other.    

Back to some of the gross "before" stuff...
Here's a picture to show what a little pressure and water can do.   
In the words of Frank Barone... "Holy crap".


 Go ahead, call us crazy.  I see you shaking your head and thinking, "why in the world?"
And I'll be honest.  This door in the picture below almost broke the deal for me... As stupid as I knew it was and as "fixable" as I knew it would be; when I looked at this screen door I wanted to run screaming in the opposite direction.


But now we have a new door.  (Ahhhh.... pretty.)  It isn't painted yet, but it's not crooked and dirty and it doesn't look like a prop from Texas Chainsaw Massacre so that's a huge plus.  In the next outdoor post this door could possibly be white, black, peach mimosa, or banana leaf.  I can't decide.
(paint colors from the Behr's Home Decorators line at Home Depot)

 screen door:  Lowe's

Here's a few more after pictures of all the tiny details in the room.


Our "What's left to do" List:

Paint screen door
Paint brick inside porch white
Hang hanging plants
Fix outlet 
Build bar/table
TV & TV mount
Industrial ceiling bar with hanging lights
New screen