
This the beginning of our kitchen renovations.
It was a typical 1960s kitchen with white wooden cabinets and tile countertops.
It was a typical 1960s kitchen with white wooden cabinets and tile countertops.
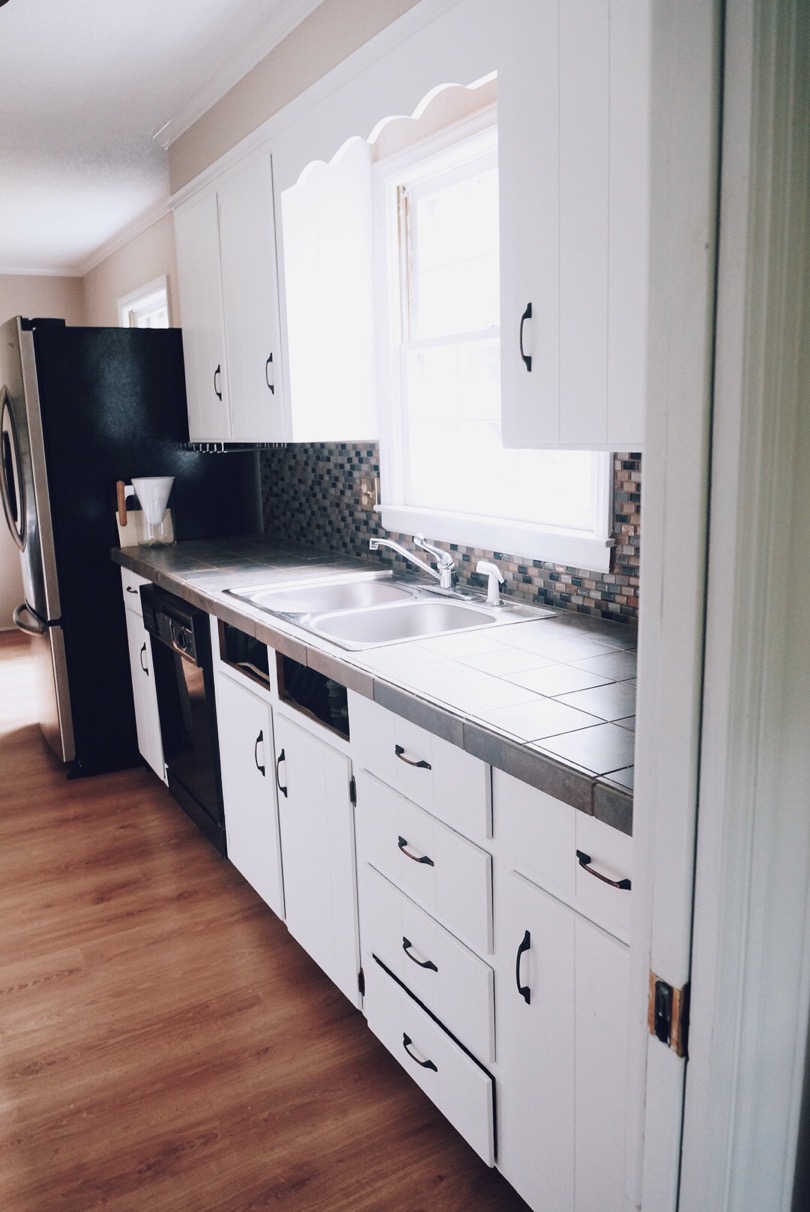
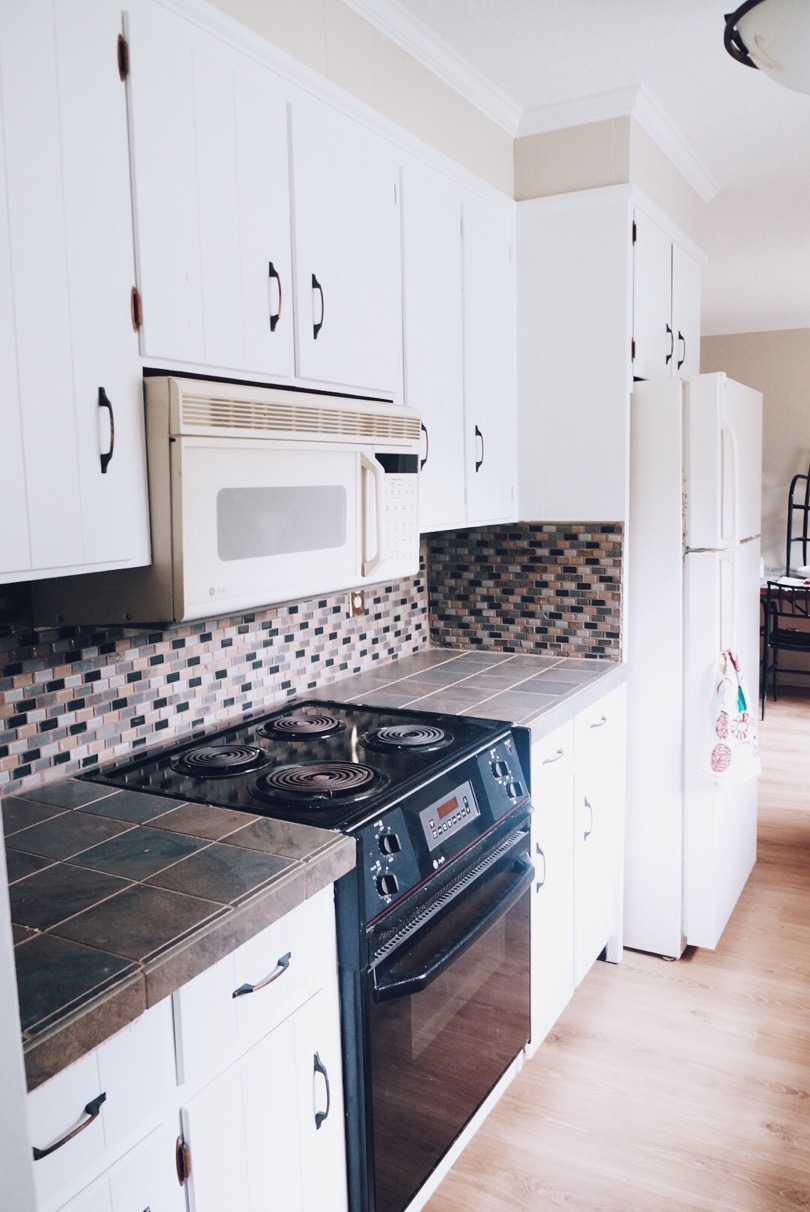
The grout was stained, the backsplash was peeling, the appliances didn't work, and the cabinets had wood rot. The doors were falling off (below the sink), as well. The kitchen layout also made the room feel so closed off from the rest of the house.
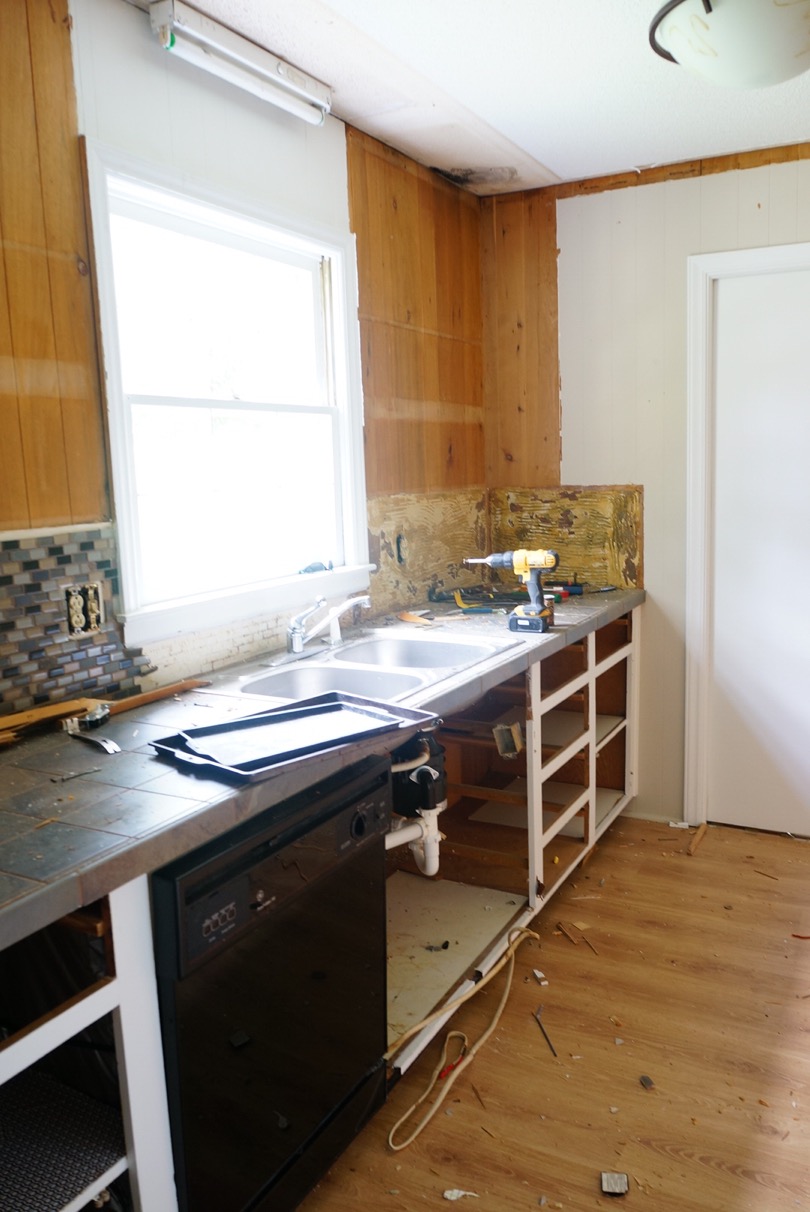
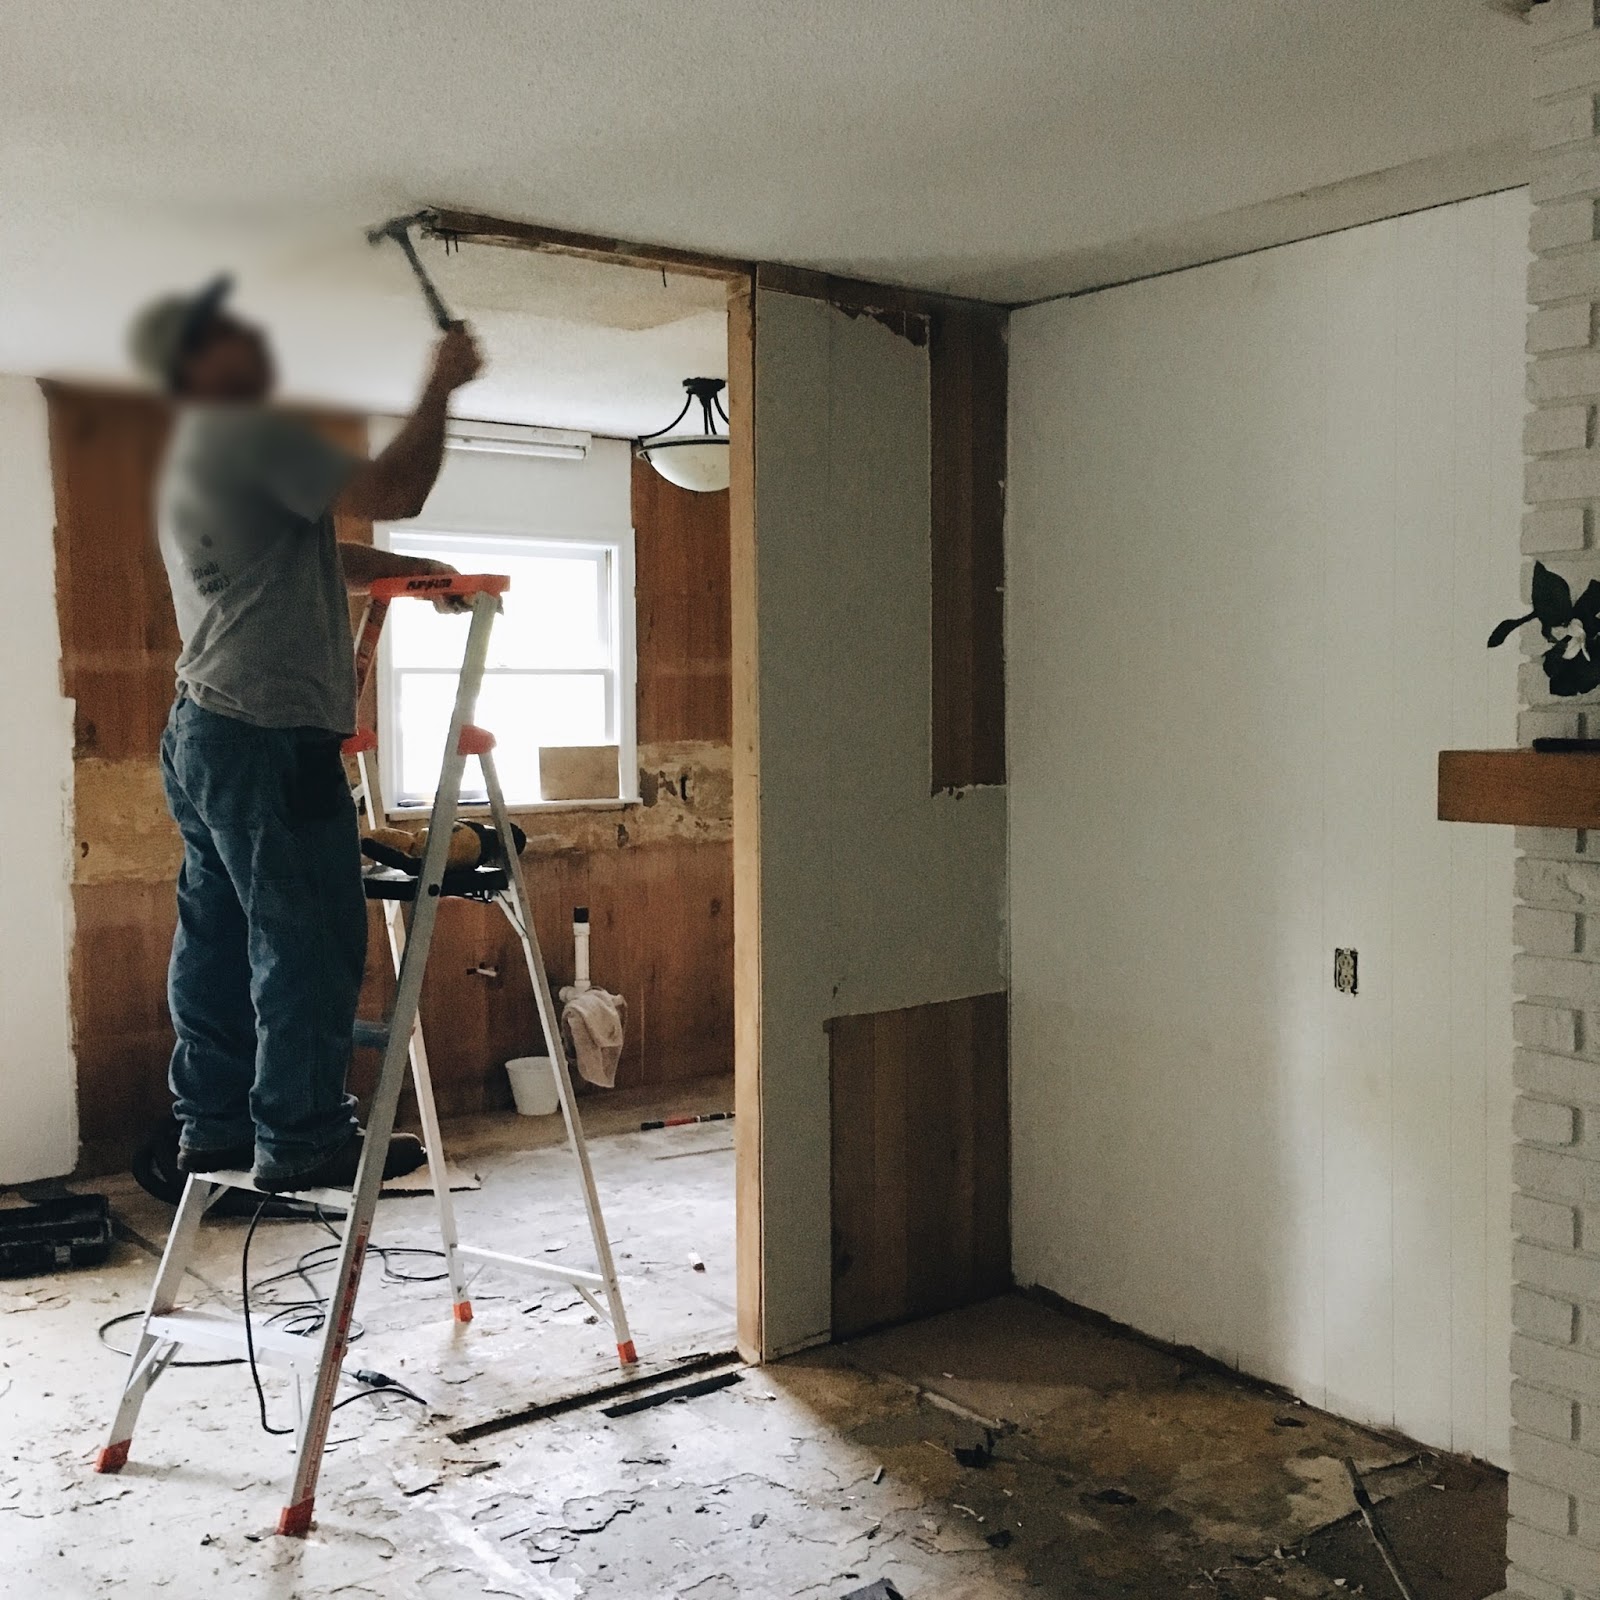
This is during the demo-ing process. After just a few minutes, it was already beginning to feel so much bigger! The removal of the upper cabinets and the wooden valance above the kitchen window was crucial to it feeling bigger. The ceiling is stained from the age of the cabinets but after a can of KILZ that was fixed!
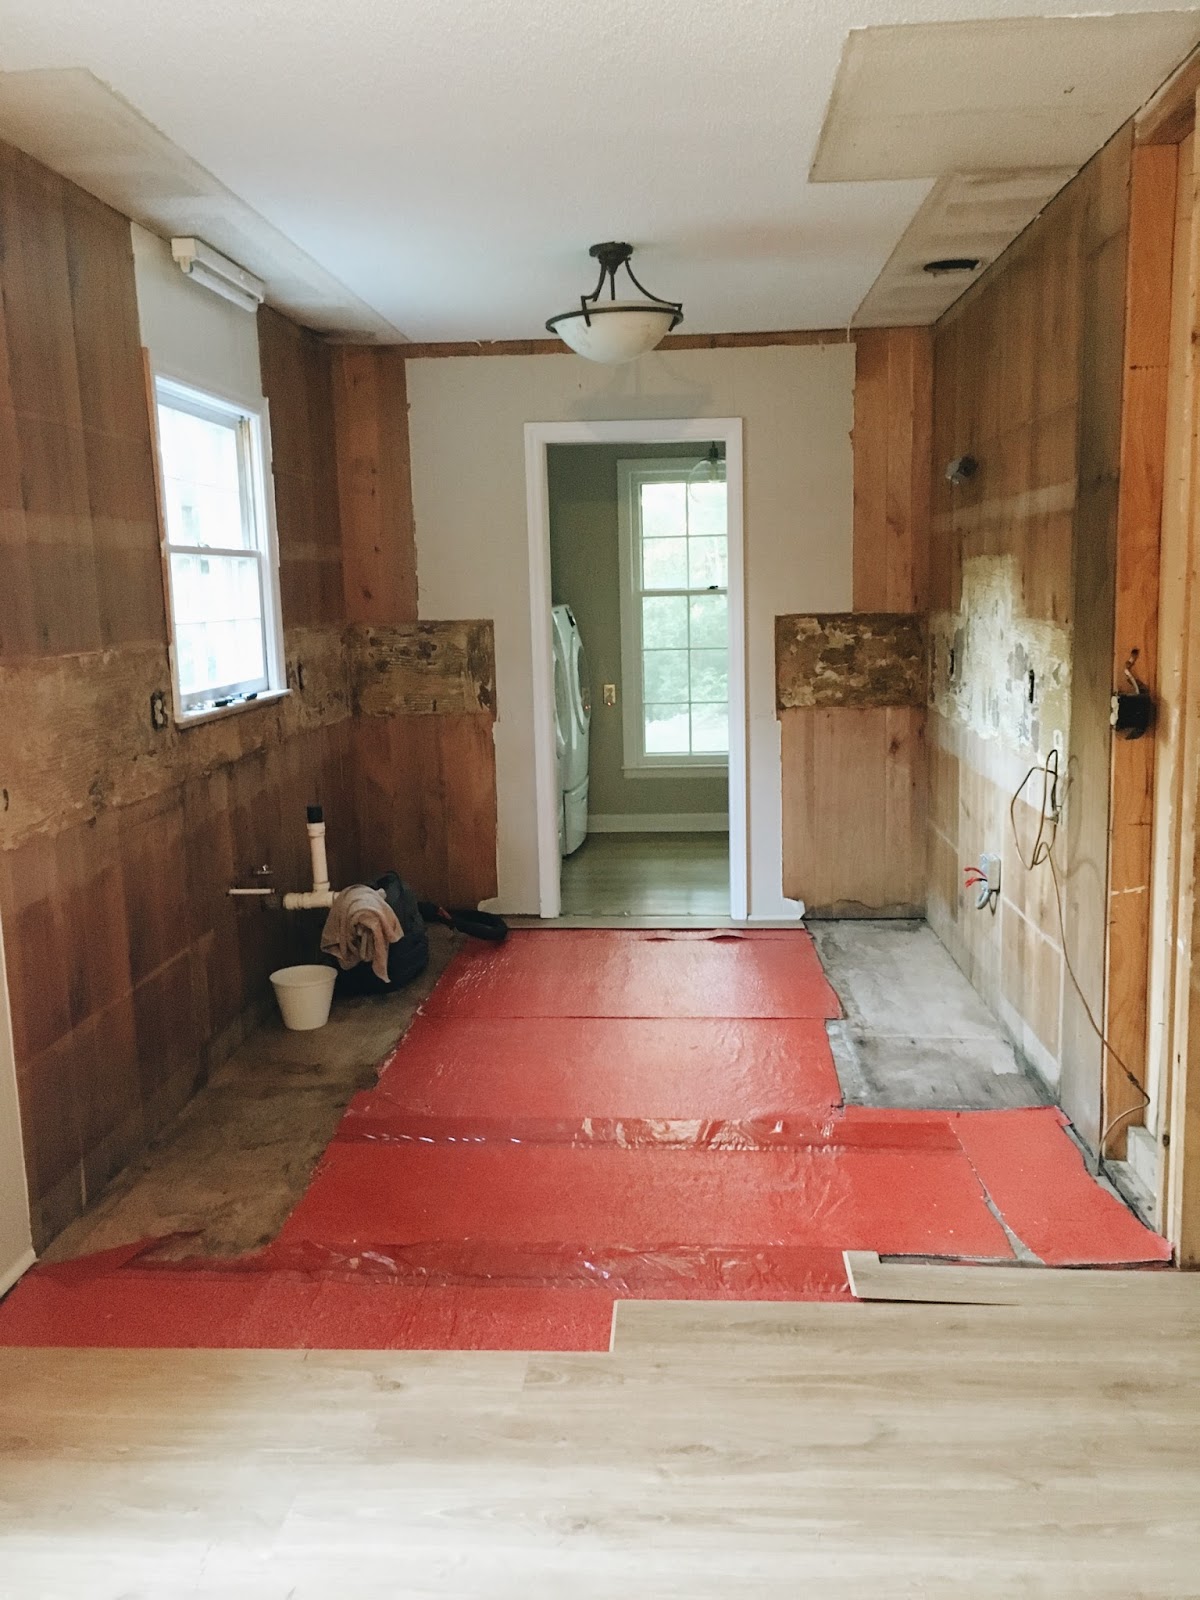
After demoing the kitchen, we began ripping up the laminate floor to get ready to put down hardwoods. The rest of the house has beautiful hardwood floors that are 1.5" redwood oak. We wanted to continue that through the rest of the house as well, including the kitchen.
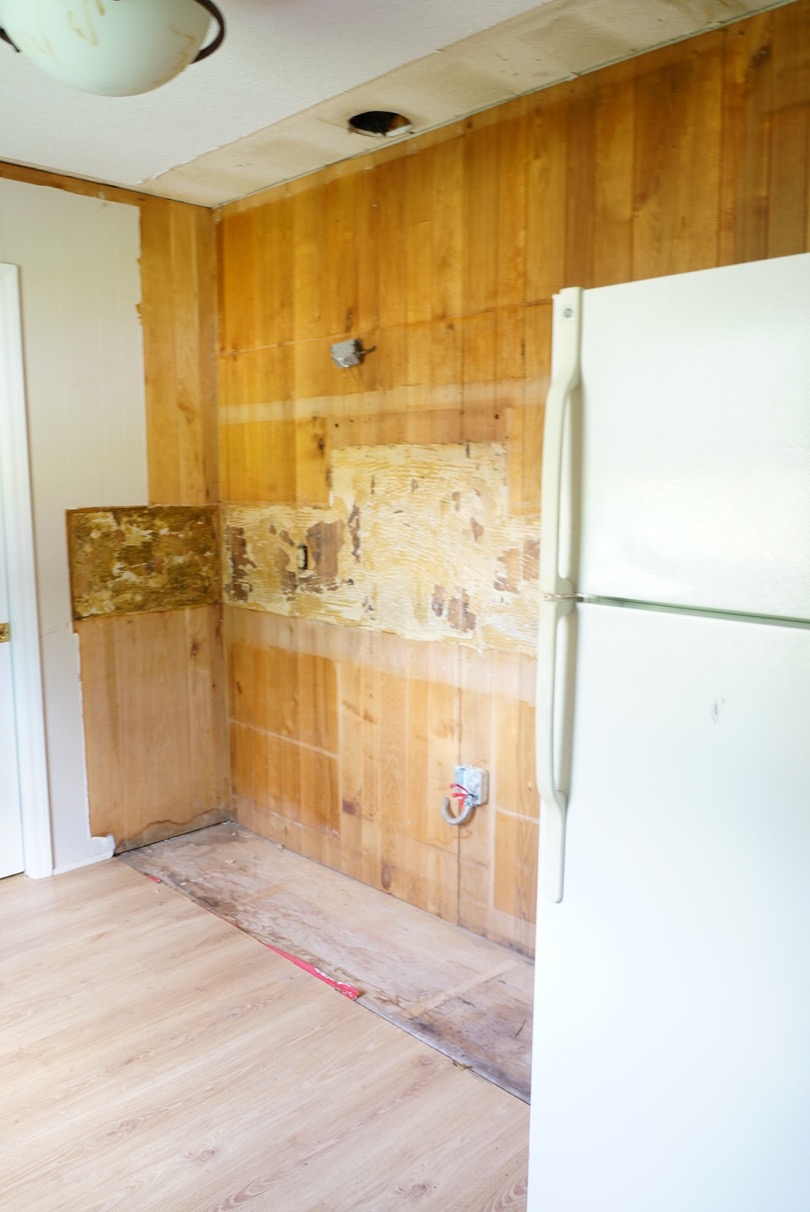
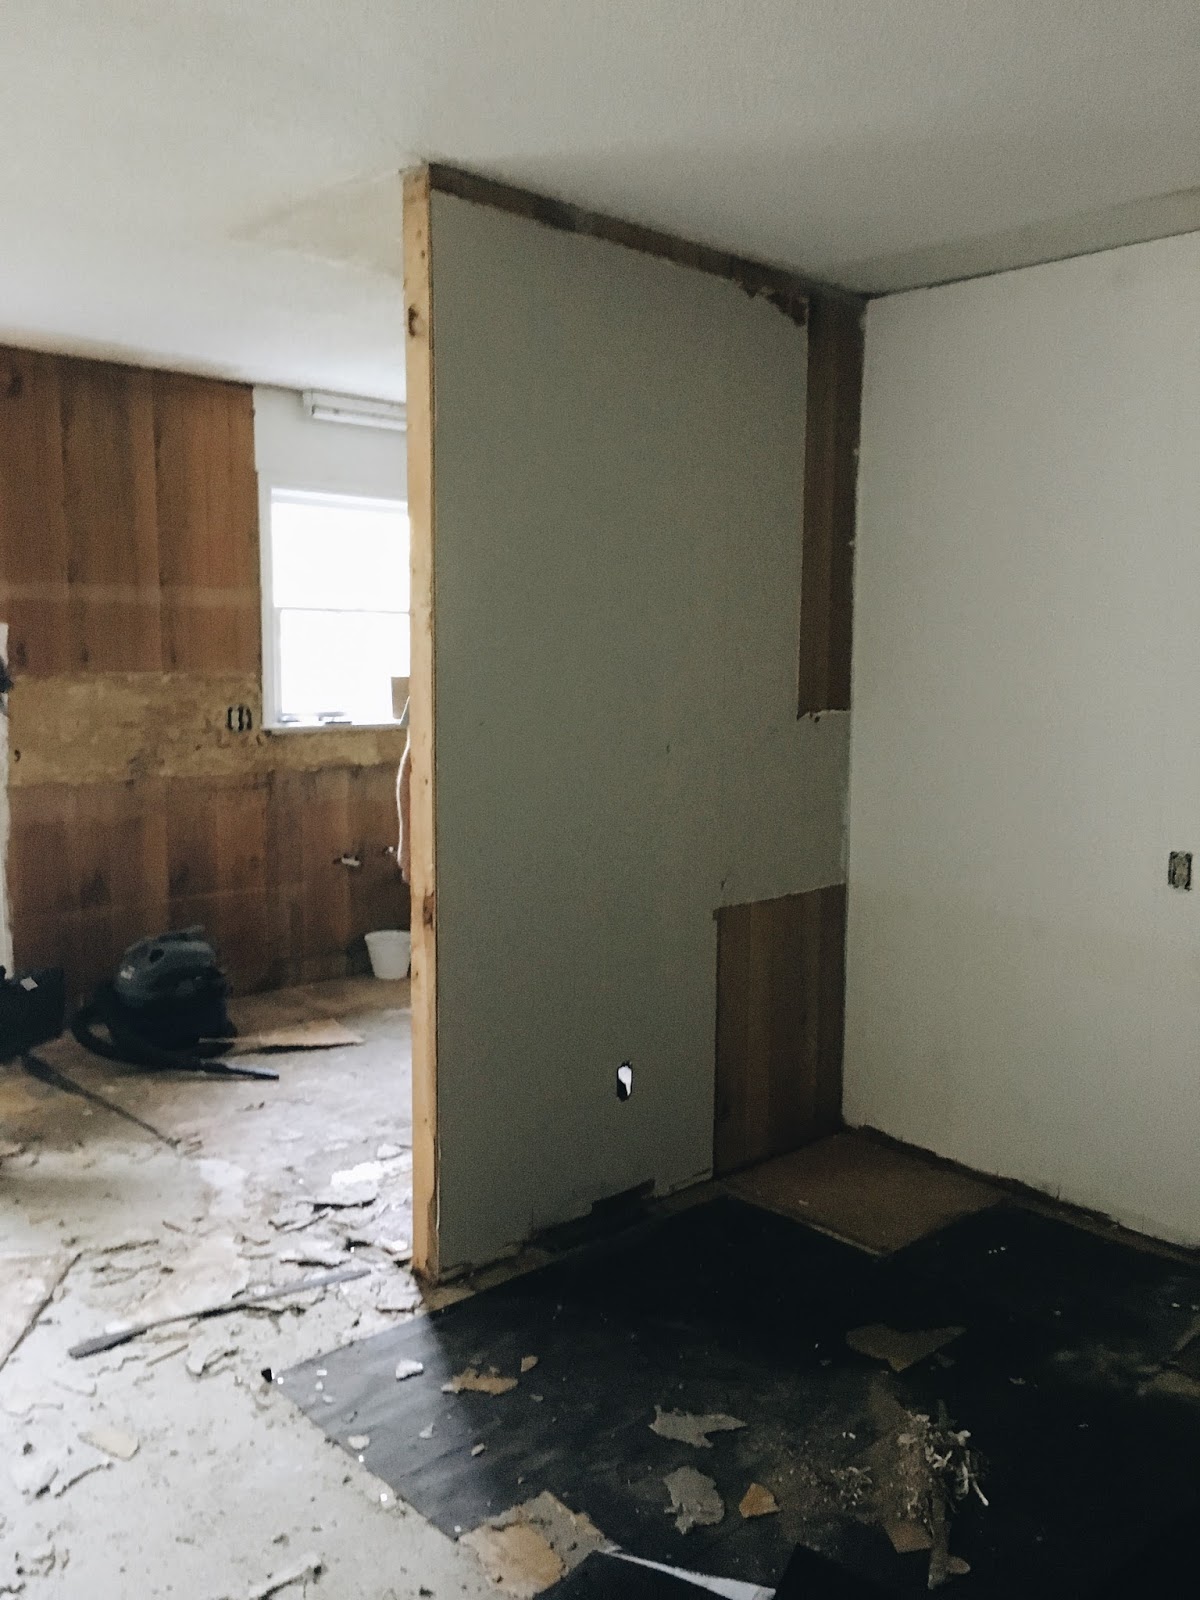
The picture below shows the wall where the "old" refrigerator was incased. We took away the incasement which included two panels on each side of the fridge and two upper cabinets. I also chose to take away 36 inches of this wall so as to open up the area for more natural sunlight and friendly conversation.
Before:
After:
You can see all the way into the kitchen now and definitely feel more connected to the space. Such a big improvement! Now when I cook I will be able to see Juliet playing in the living room or have a conversation with someone in the next room.
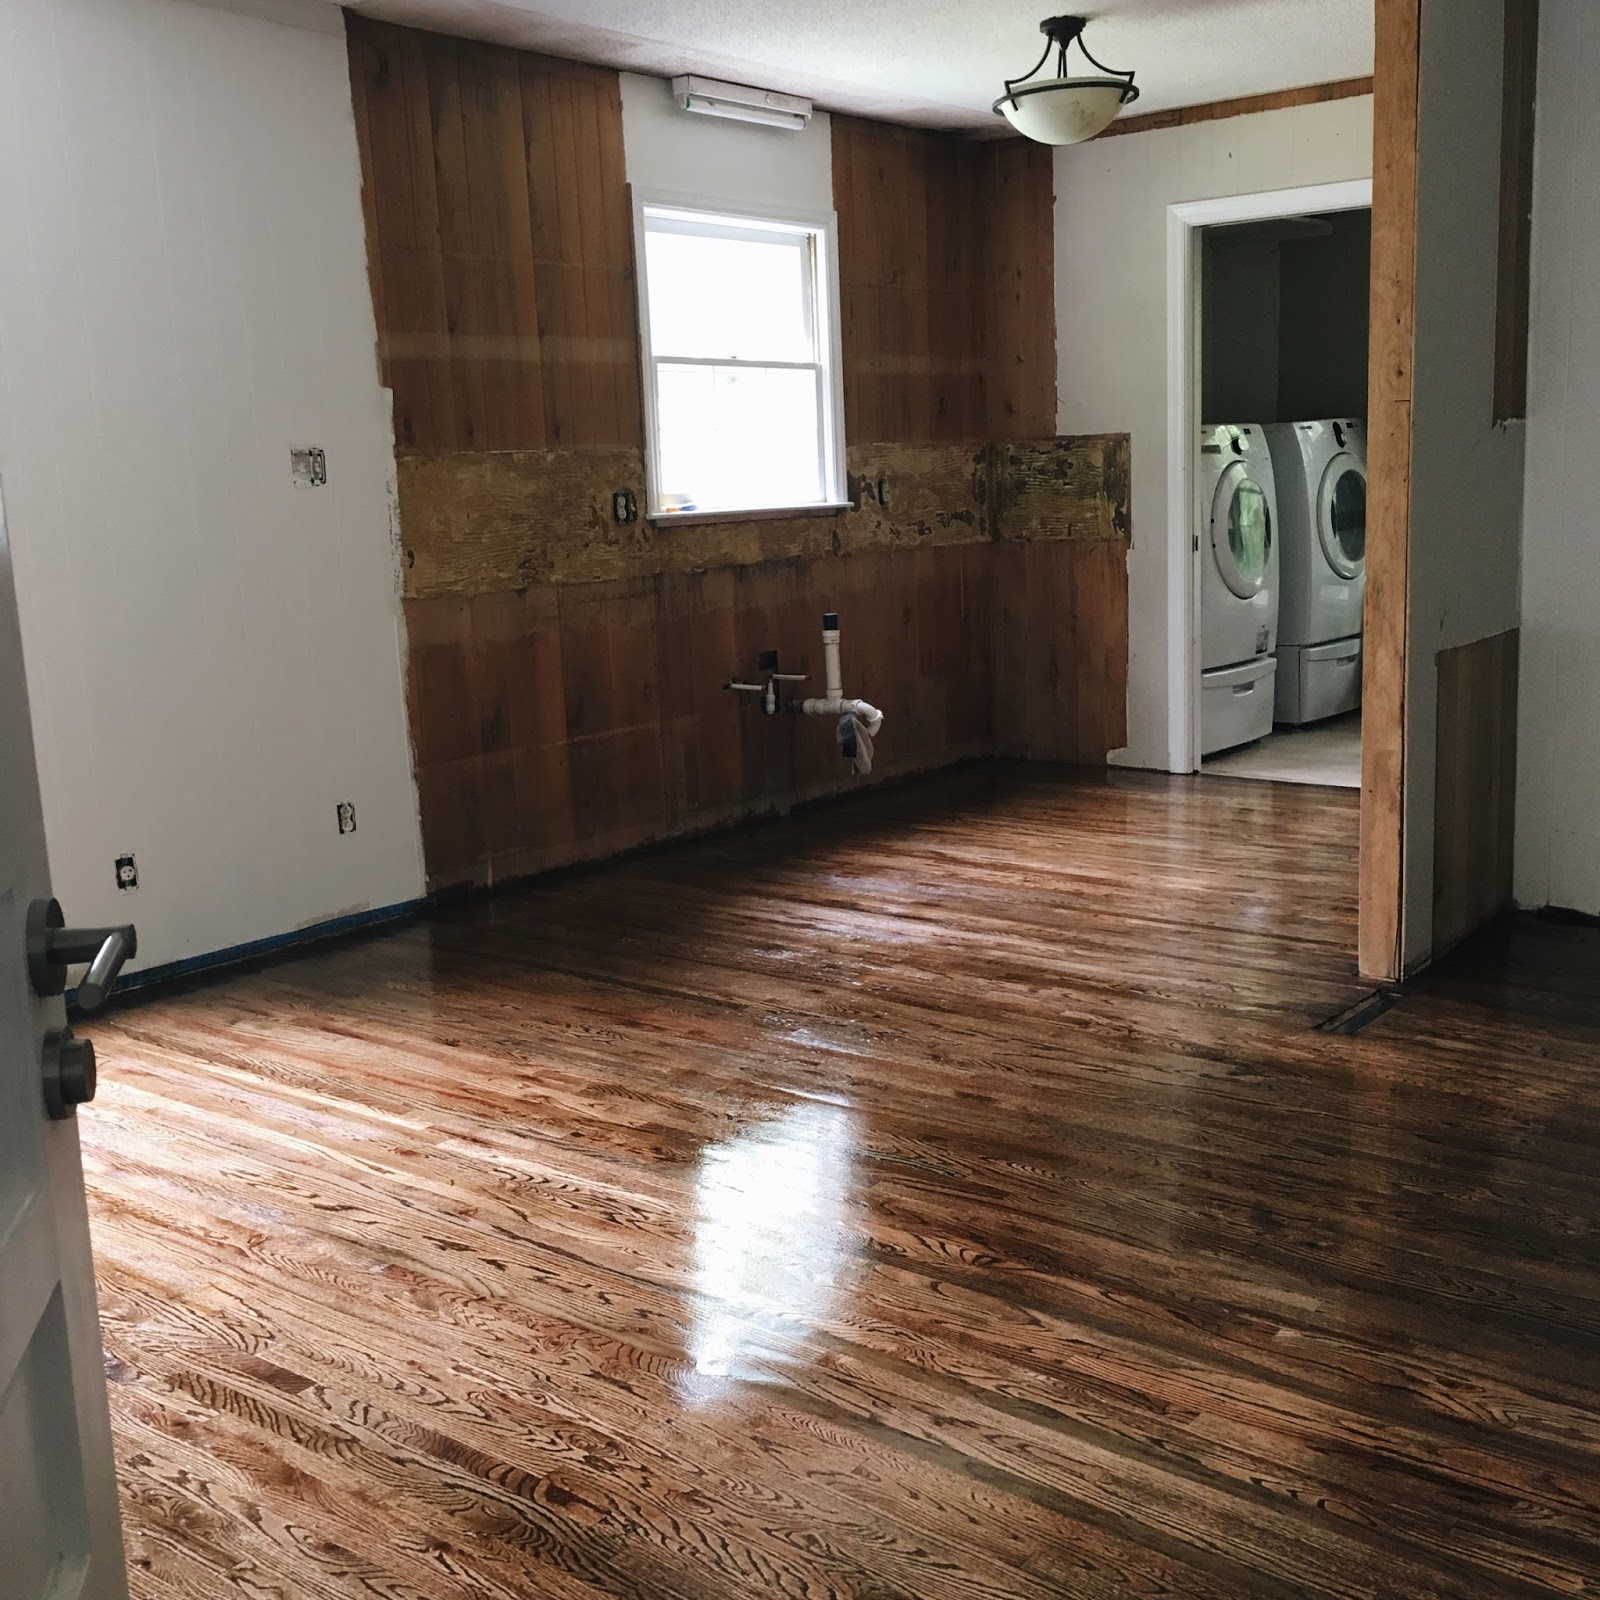
Hardwoods are now installed- all shiny and new! The next steps are to removed paneling and hang backer board in it's place in preparation for a wall full of tile! Yipp-eee!
The next post will have more demo (waaaahhh!) plus the installment of new appliances, backer board, and kitchen cabinets with sources! Stay tuned!

No comments:
Post a Comment